I am so sorry for the delay in posting this tutorial! This week has been pretty busy and I know I anticipated having this done Wednesday night…so I hope this allows enough time for some of you who requested a tutorial, to make the cards you wanted in time!!!
I can say that this card isn’t too tricky to make. I did the whole thing in about an hour last night. While it looks fancy and complicated, the mechanism is simple. A waterfall pull tab card can be seen in my previous post, Valentine Pop Up Card: Hidden Message, and seen in video action in the post Happy Birthday Waterfall Card.
Ok so now the question – how to make this card?
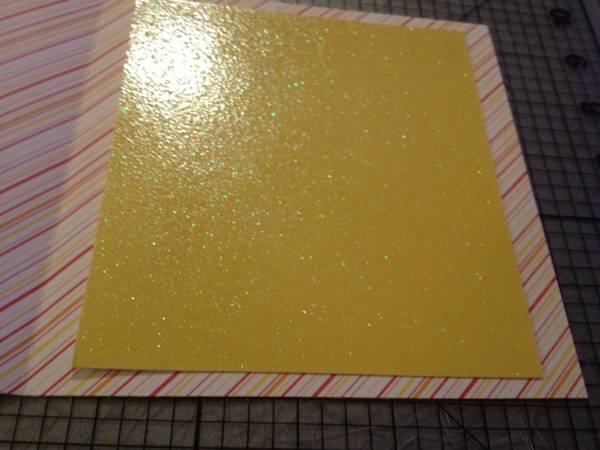
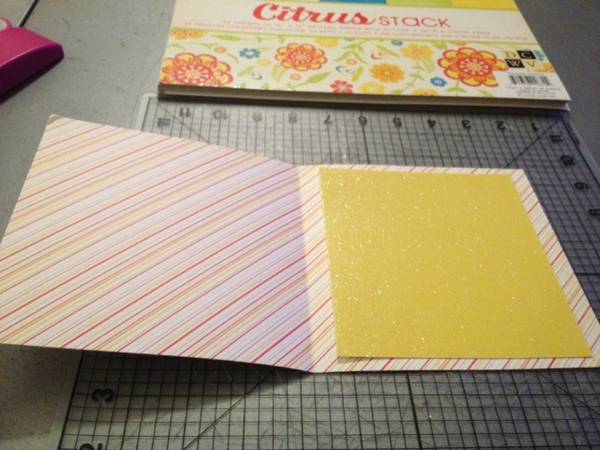
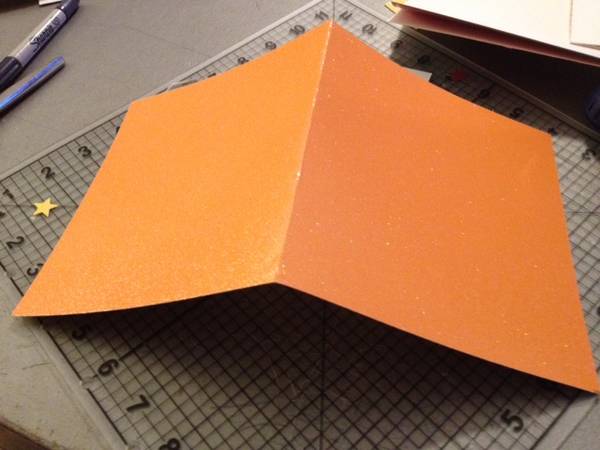
1. Start out with a 12 x 12 piece of cardstock and cut in half so you have a 12 x 6″ piece. Score and fold in the middle so you have a folded 6 x 6″ square card. Cut an additional piece of cardstock (in a different color/pattern), into a 5 x 5″ square and place it in the inside of your card.
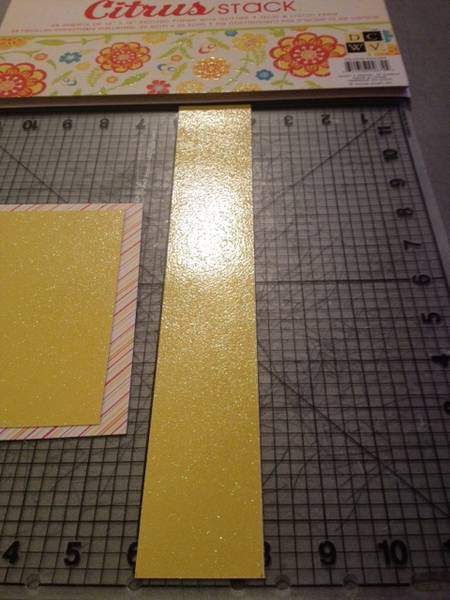
2. Now cut a 12″ x 2″ strip of paper (preferably the same type of cardstock as your 5 x 5″ square). This strip will be covered by another color and type of paper later on. This will serve as the mechanism for the tab.
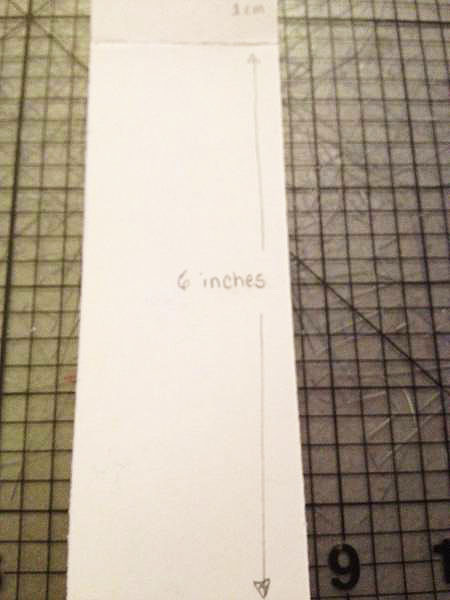
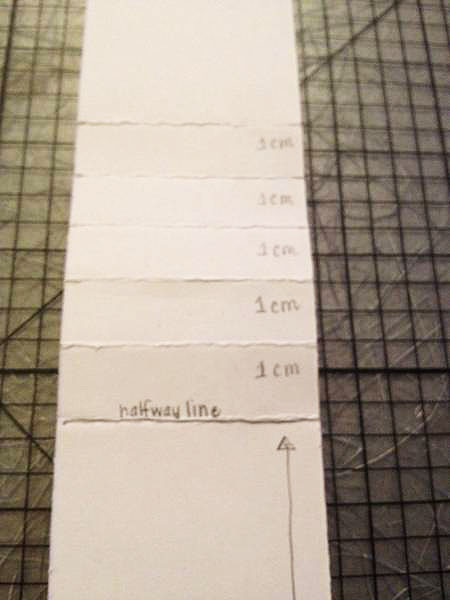
3. Fold the strip in half (so you have a 6″ long strip when folded). Open the strip up and mark five 1 cm lines (note centimeter measurement), above the half way line. So you should have 6 inches at the bottom of the strip, then the fold in the middle of the strip. Then 5 lines each 1 cm apart. Score the lines and fold them in and out so that they are flexible.
Sorry this is so grainy! My iPhone camera wasn’t at its best last night! 🙂 Plus, it’s in pencil which was drawn rather lightly.
4. Now cut a piece of cardstock into 6″ x 2″ (this will be the strip that you pull down and will display a hidden message or image, whatever you want). Since it is 6 x 2″ it should line up perfectly with the bottom half of your tab.
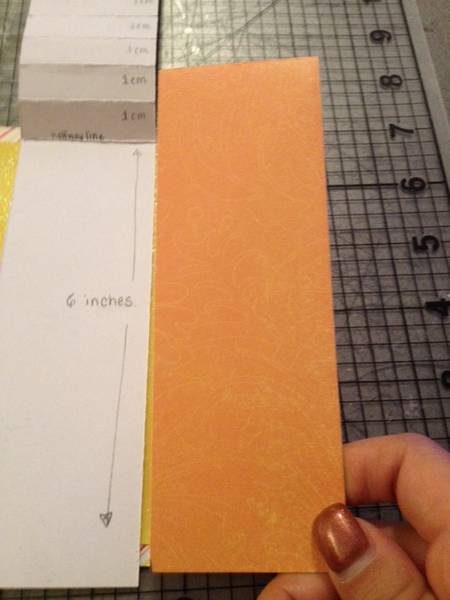
5. Now cut a 5″ x 1″ strip of paper so it should be as wide as your 5 x 5″ square.
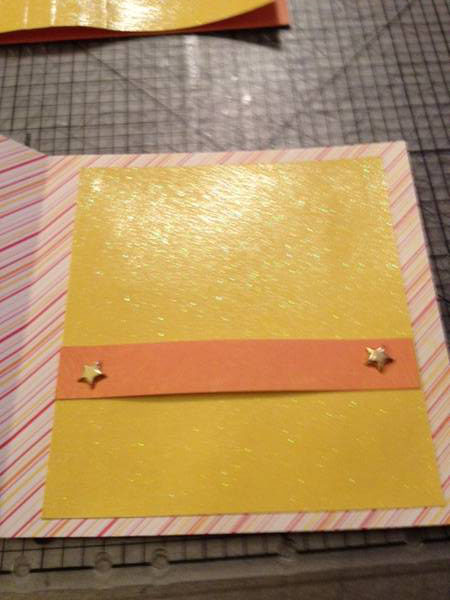
6. Use an x-acto knife (or teeny-tiny paper punch) to poke a hole through both ends of your newly cut 5″ x 1″ strip all the way through your 5 x 5″ square and your card (you will have the holes covered by your front & back cover on the outside of the card at the end of this). The holes do not have to be neat because you are going to insert little brads into them so they’ll be covered up.
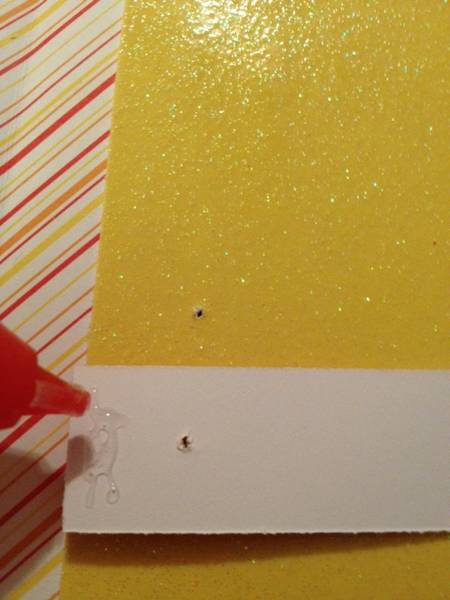
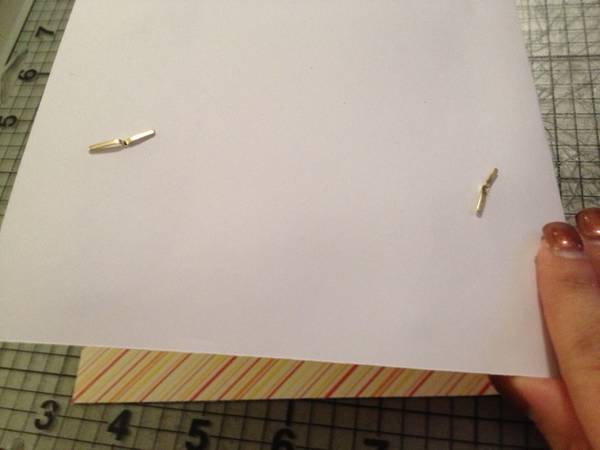
7. Glue on the outer edges of your paper strip outside of the hole you just cut and then line up the holes of the strip to the holes in your card and press down firmly. Then insert the brads into the wholes.
Little star-shaped brads from Joann’s Fabrics
Again, this part below will be covered up by your outside cover of the card in the end.
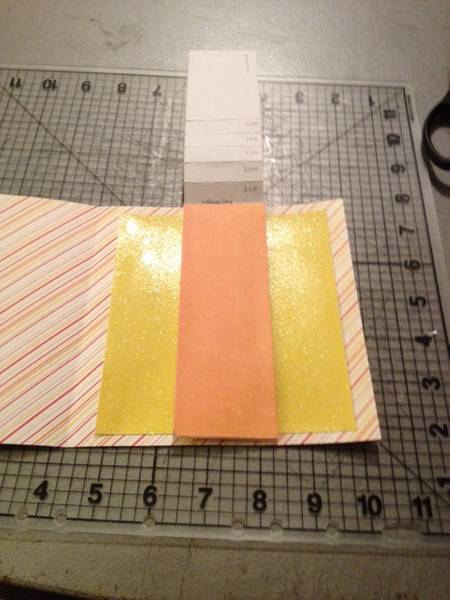
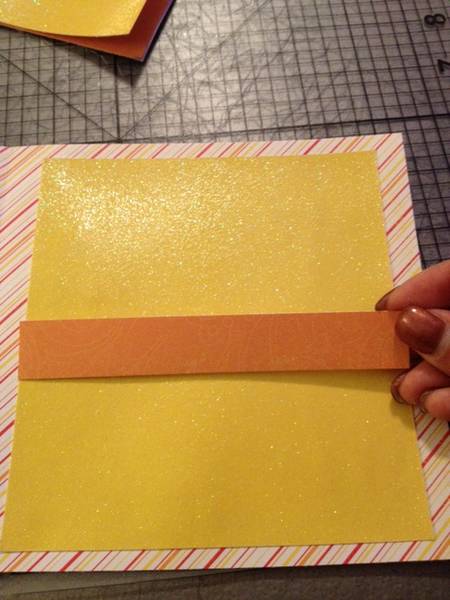
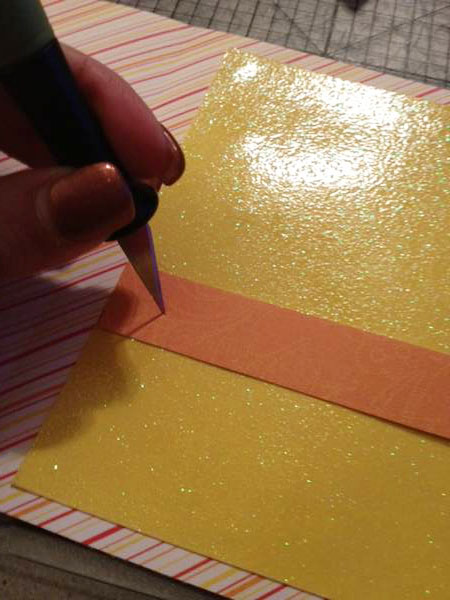
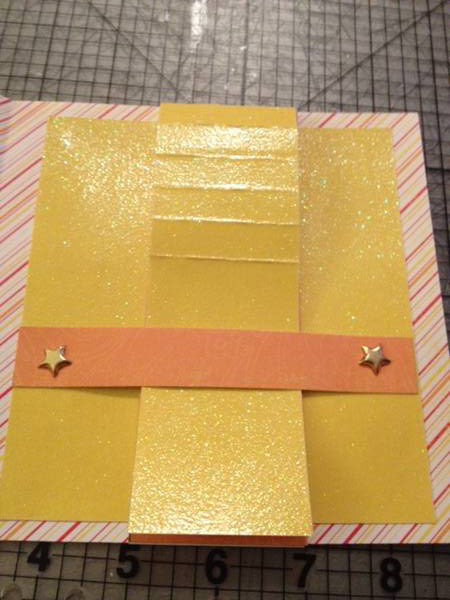
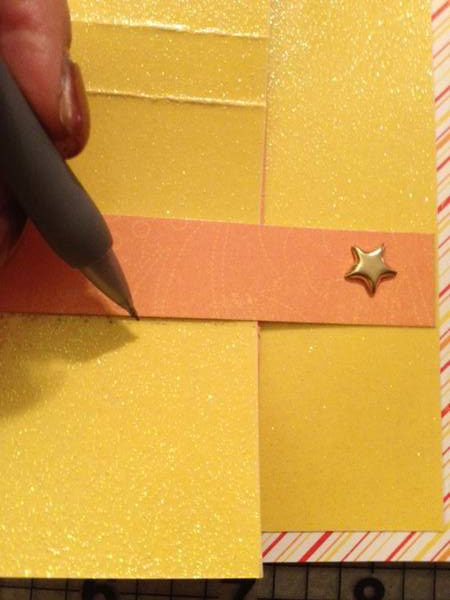
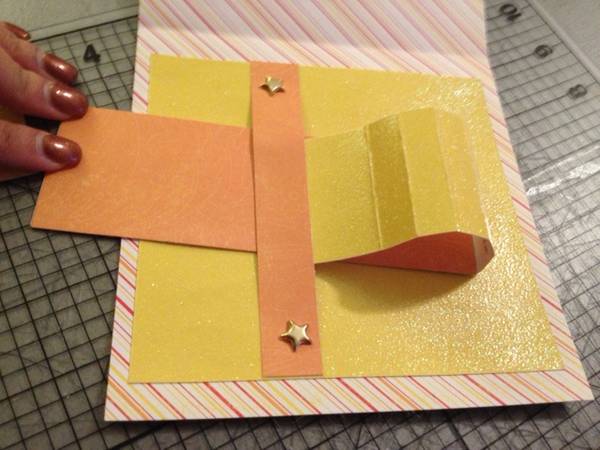
8. Now take your long folded strip (the one where you made the five 1 cm score folds) and insert in under the strip you now secured with brad. Do not glue anything just yet. Line up the strips and trace with pencil where the edges meet. Cut off the excess.
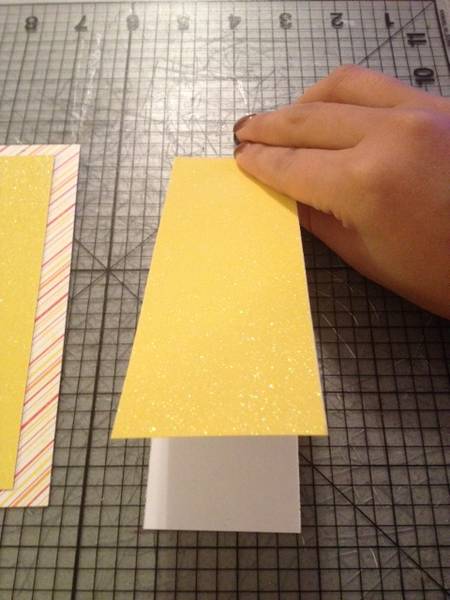
Cut off the excess paper that would hang down below the orange strip.
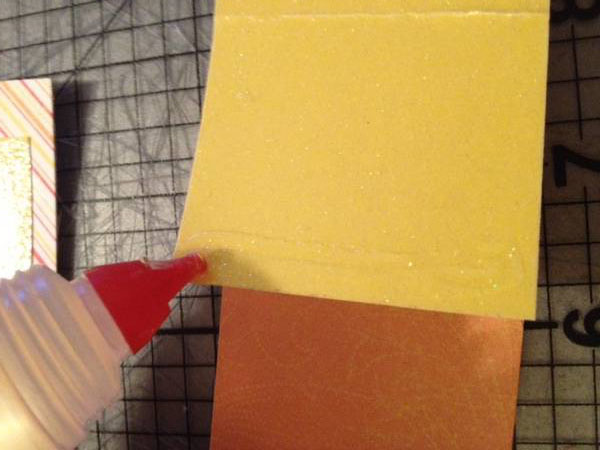
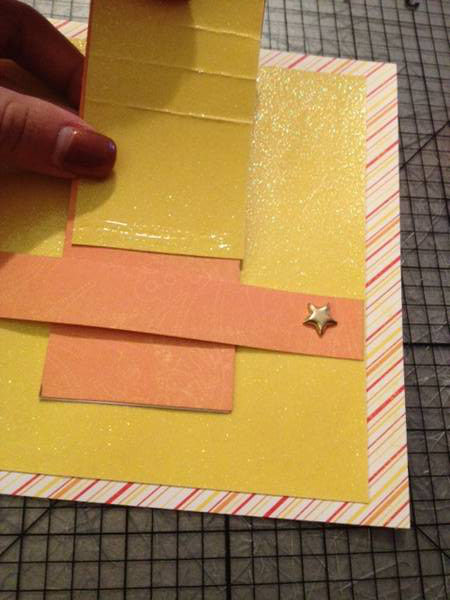
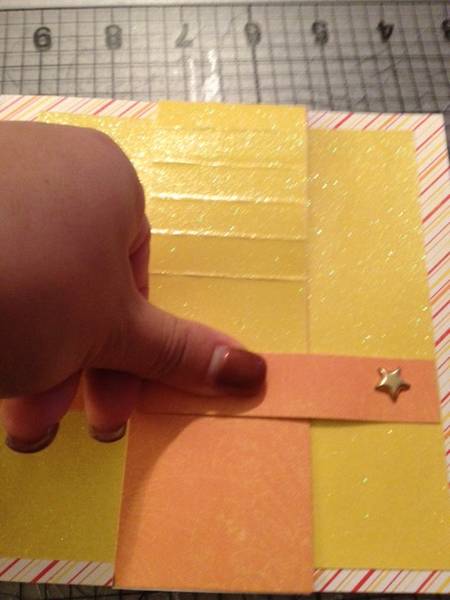
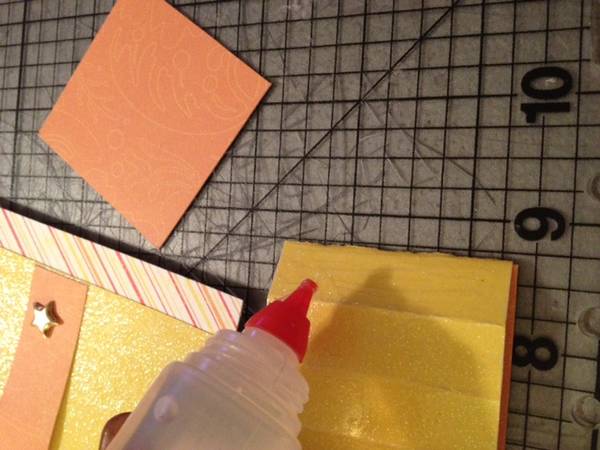
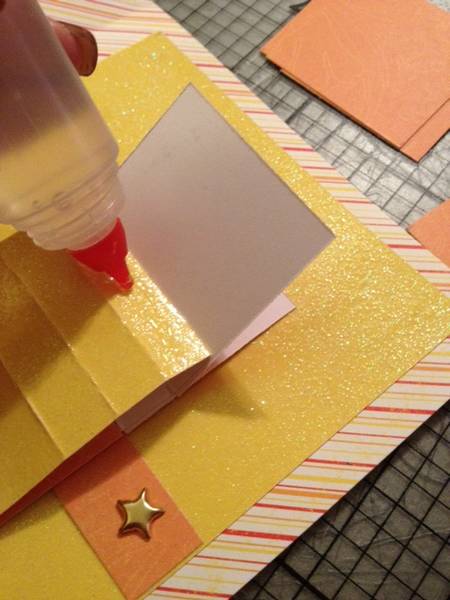
9. Once your excess is cut off, apply a small amount of glue along the edge of the strip and then insert it down under the orange strip and secure it by pressing down firmly so it adheres well.
It might tough to see but there is glue on the tip of the yellow part that I am sliding down in this picture. It is going to go underneath the orange strip and be glued to it.
Press firmly and make sure it’s dried or at least well-secured.
10. Now you have the mechanism ready for your pop up messages.
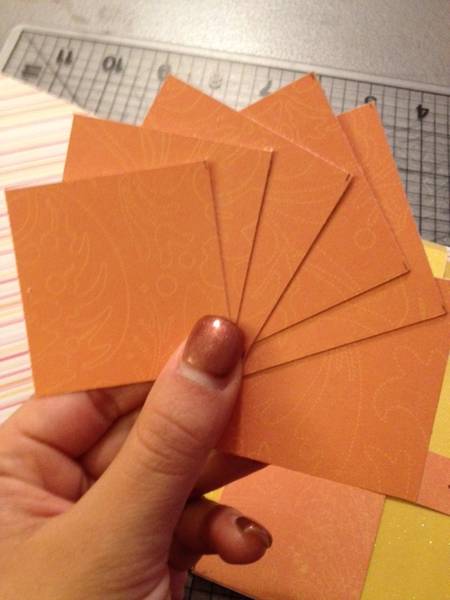
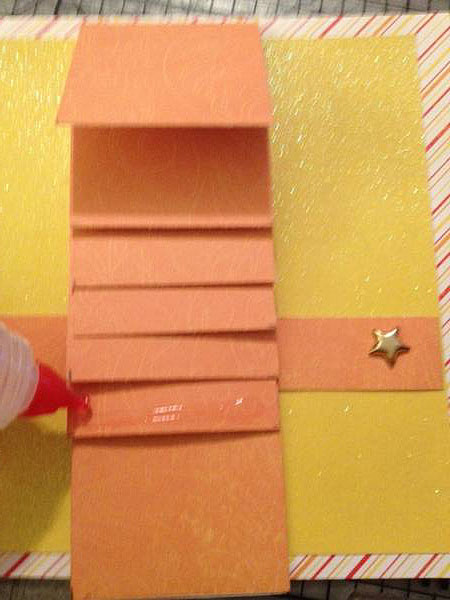
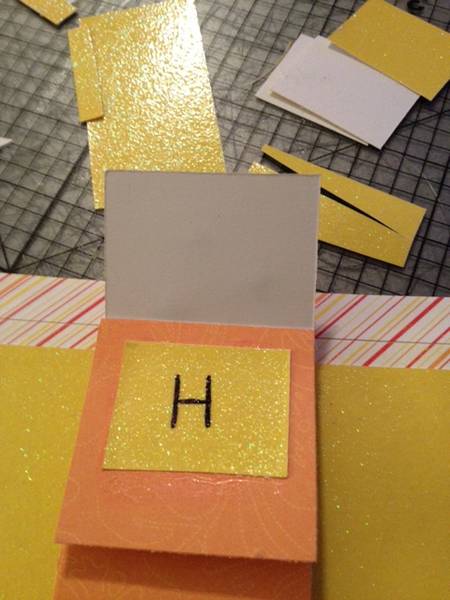
11. Cut out 6 squares (2″ x 2″) and glue each one along a 1 cm fold so that one square is layered on top of another square with a 1 cm overlap.
So for each 1 cm section where you put glue, line up 1 of your 2″ x 2″ squares and glue it down. Keep this going until you have them all glued.
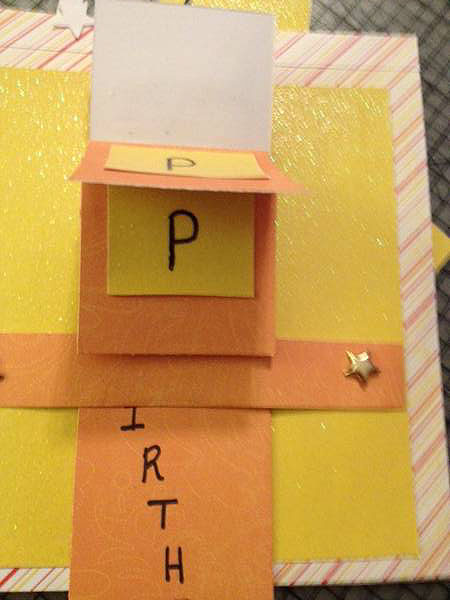
12. Now that you have all the squares glued down on each 1 cm fold, you can put a little glue along the last square on the bottom and this will slide under the orange strip and be secured to it as well (similar to what we did in step # 9.
13. You now have your pull tab mechanism ready for decoration!
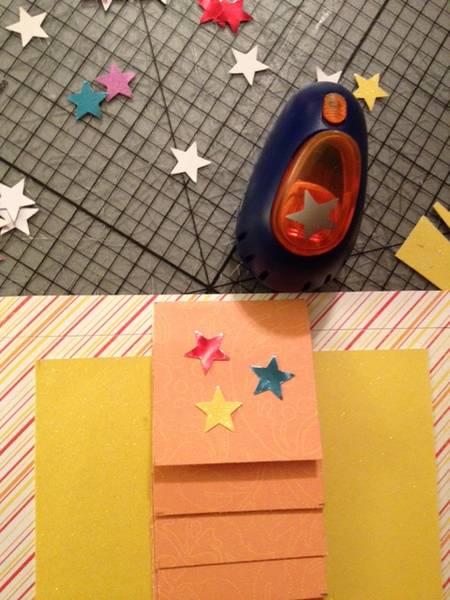
14. I used a mini-paper punch to pop out some stars for decoration on the outer top flap.
15. Now cut out 5 squares, each 1.5″ x 1.5″ and these will be the squares with the letters H-A-P-P-Y on them. (You can use whatever letters you want to spell out a name or a different word. Or you can use pictures or shapes, it’s really whatever you want to do with it). When you pull the orange tab down all the way, you can write the message you want for it. In this case, I wrote “Birthday” and I always like to do it in pencil first before I break out the sharpie.
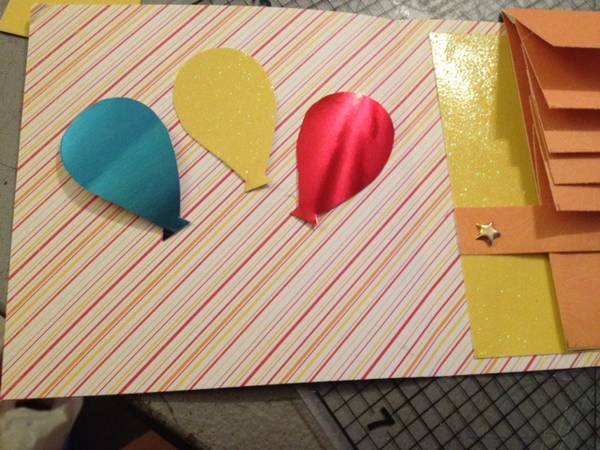
16. Now you can add whatever little cute things you want to the rest of the card. I free-hand drew some balloons and cut them out (all 3 at once because I am lazy). I didn’t have time to add other decorations to this last night but you can use paper stars, add some text, or do whatever you want to make it your own.
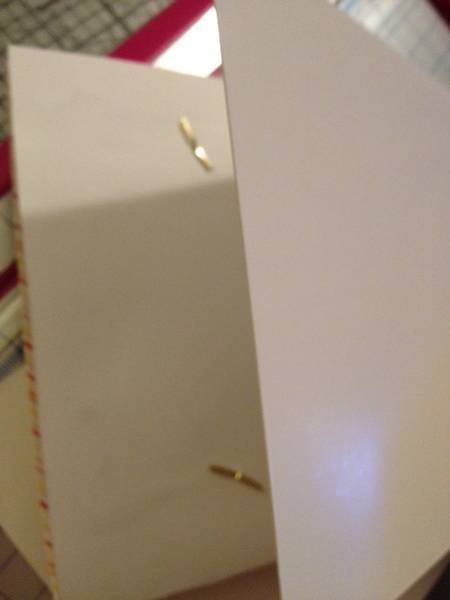
17. Now you can cut out poster project board (the sturdy stuff that I love!) and cut out two 6 x 6″ squares (so they should line up perfectly with the rest of your card) and then cover up that project board with the cardstock of your choice for the outside of the card.
Cover up those brads!
And the piece below will be the outer cover for the card, to be glued to the card and decorated.
I will admit, I didn’t finish the outer part of the card. But, in my defense, I had to choose between either going to bed with wet hair from showering earlier, or quitting my cardmaking for the evening and blow drying it. Since it was 20 degrees last night in Rhode Island, I chose to blow dry!!!
But, I’m sure most of you are incredibly crafty and good at putting together your own cute looking cover. 🙂 Plus you probably were more interested in the pull tab waterfall mechanism, so I felt that skipping this part wasn’t as crucial. Let me know if there are any more requests! I will do my best to get them done on time. This has just been a busy season of card making since it’s Valentine’s Day soon and it seems like everyone I know is having a birthday around here.
Happy crafting!!!







excellent one
Can you please do a video tutorial on this? I don’t really understand some steps 😦
Oh I gt it already! 🙂 thanks for this awesome tutorial!
Was is step 8 that confused you? How did you get it done? Could you show me too? 🙂
i cant understood this!
I don’t know how to perform step 8 onwards. Can you make it clearer? What does this mean? “Line up the strips and trace with pencil where the edges meet. Cut off the excess.” Perhaps if you could indicate each strip with sections. Because I’m confused. 😦
I’m going to try doing a video this weekend and hopefully that will help! Sorry!!!
That’ll be great! Thank you so much! 🙂
Hey, just wondering whether I’ve missed the video tutorial because I can’t seem to find it. Thanks! 🙂