Wedding Ceremony Programs That Shimmer and Sparkle – RI Invitations

After the invitations get sent out, the ceremony programs will be the first piece of stationery that your guests see when they arrive to the wedding. Aside from any flowers or ceremony decor, these will be the very first element of your wedding day that make an impression on your guests. What better way to do it than with your own handmade shimmery card stock programs with little ribbons and rhinestones? (Can you see a theme here with my wedding? 😉 )

Ceremony programs are the least complicated and least time-consuming to create. You can print on both sides and simply score in the middle to save paper. It’s always good to do a practice run on a few regular sheets of paper so that you don’t waste any of your pretty card stock. Tie a little ribbon bow and add a few jewels and voila – you now have an amazing piece to introduce your guests to your wedding ceremony. You can add special thanks to your readers, wedding party, and any other important family members who have helped bring it all together. It is also common to mention loved ones who have passed away on the back of your ceremony card so that their memory can be honored.

My theory is – keep it simple. While everyone is excited to see you walk down the aisle and all, let’s face it – everyone is more pumped for the reception. So while these wedding ceremony programs need to make a good impression, I wouldn’t spend too much time on them. Notice how these are much simpler than the wedding menus I made? Also, don’t feel like you need to make programs for every single person. After hearing some first hand advice from other DIY brides lately, it appears that the new trend is for all guests to show up to the reception but not all guests show up to the ceremony. Therefore, while you may be expecting 130 for a seated dinner, you may only have 100 or so that come for the ceremony (especially if your wedding ceremony is at a different location or a couple hours before your reception). You also don’t need to make programs for your wedding party unless someone really wants an extra one (but I mean…let’s be serious, who actually is going to want to keep one? You and your MOB will probably be the only people who will want to treasure a left over program once the wedding is over, so let’s not get carried away). For our wedding, we are having 130 guests roughly, and we have 10 people in our wedding party. Thus, I plan to make about 90 ceremony programs and even at that, I estimate that I might have some extras. Couples can share and plus, do people really stand and follow everything to a T? I think guests are more interested in watching what is going on – especially if you have a “wow” wedding dress.

Here are a couple photos of our wedding ceremony programs that maybe will give you some inspiration. They are really simple and printed at home on shimmery cardstock. Happy crafting!

weddingceremonyprogramselegantformal

weddingceremonyprogramselegantformal

weddingceremonyprogramselegantformal

Pink & White Boxed Wedding Invitation

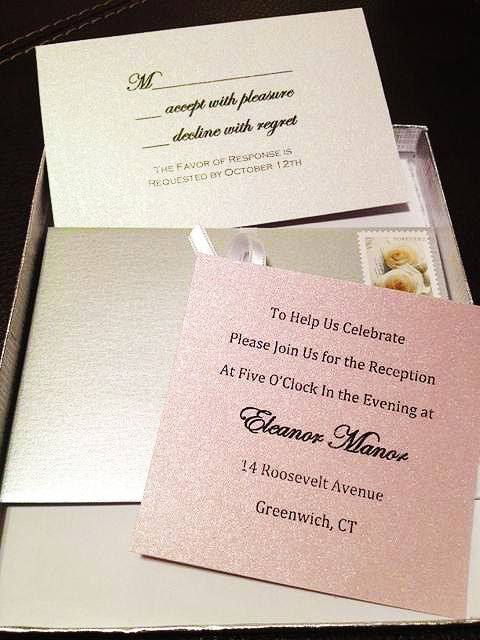
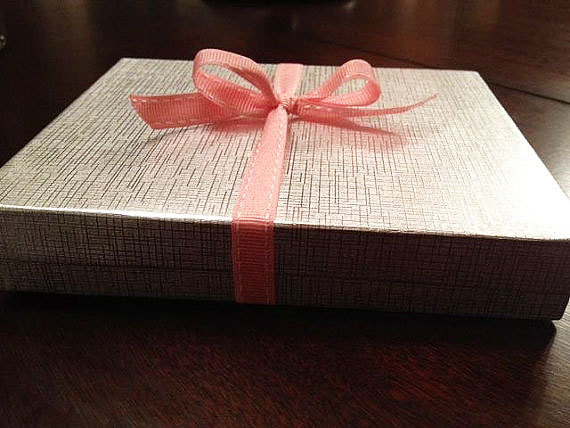
I have been a regular fan of the black and white style for my own wedding stationery, but I decided to try something new when I had an Etsy customer request a pink and white boxed invitation. She loves the silver box, and wanted a little bit of light shimmery pink. I’m thinking of testing out some more invitation designs in the pink family (what do you think?).  I’m sure most brides for the summer have already picked out their invitations at this point, since isn’t the rule of thumb that they should be popped in the mail at the 3 month mark? So far, Emma as approved her pink & white invitation sample and gave permission for me to post images of her sample on my blog so that you can take a peek! Hope you like the pics!

Congratulations to Emma & Andrew! 

pink and white boxed wedding invitations formal

pink and white boxed wedding invitations formal

pink and white boxed wedding invitations formal

pink and white boxed wedding invitations formal

Couture Boxed Wedding Invitation – Handmade

Who says DIY can’t be glamorous? 😉

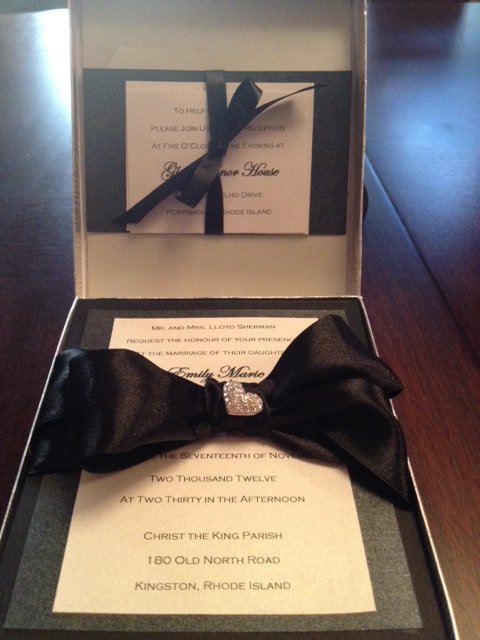
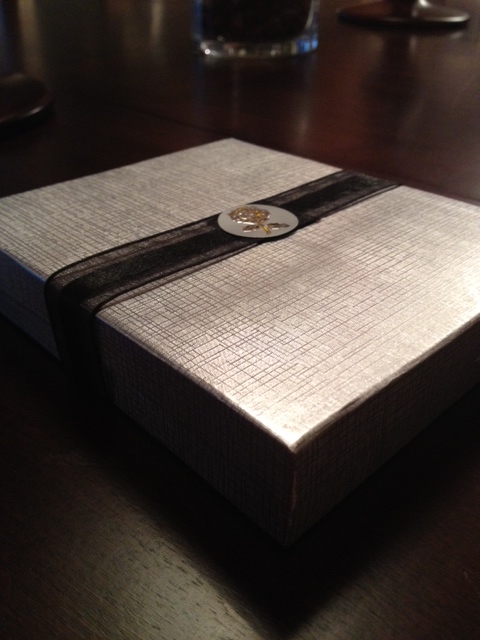
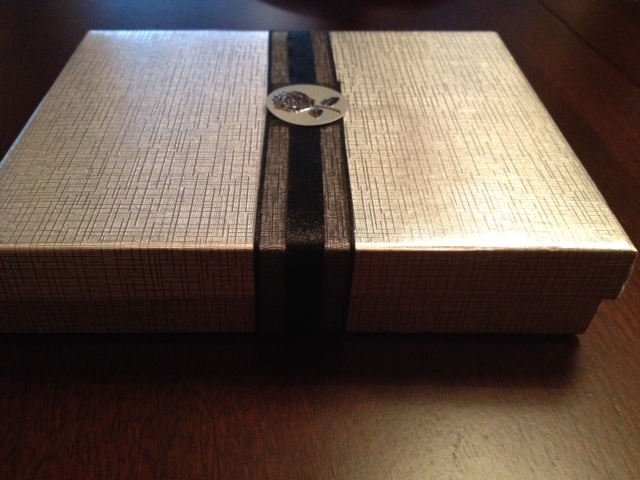
After many trials and errors…I have finally made my first wedding invitation in a box! I fell in love with couture invitations online, but was not in love with the idea of paying someone to produce an invitation that I felt I could make myself. With my home printer, Microsoft Word fonts, shimmery card stock on sale at the local craft store, and decorative details from wholesalers online, I figured out my own boxed invitation formula.

My fellow crafters, it IS possible to do it yourself. You just have to be willing to hunt around and have some patience. This is NOT something you want to do if your wedding is right around the corner. I expect that this will take me a good 2 months to put 75 of these invitations together (since I work at SeraCare Life Sciences full time, and am currently getting my M.B.A.). Once you get the first one done, make sure you have all the dimensions written down – even the exact length of the ribbon you used. That way you can  cut 75+ card stock squares, all at once, in the length and width you want, and get them done so much faster.

I will post a tutorial soon! I can’t believe I haven’t blogged in almost 2 months. It’s true that once you become a bride, things get very busy! Most of my past 6 weeks have been spent trying to get into beach shape and trying to devise the blueprint for an invitation that looked decent enough to share with you! Let me know what you think! I hope this inspires some of you crafty brides to take a crack at making boxed wedding invitations of your own!!

DIY boxed wedding invitation couture handmade elegant

DIY boxed wedding invitation couture handmade elegant

DIY boxed wedding invitation couture handmade elegant

DIY boxed wedding invitation couture handmade elegant

DIY boxed wedding invitation couture handmade elegant

DIY boxed wedding invitation couture handmade elegant

DIY boxed wedding invitation couture handmade elegant

DIY boxed wedding invitation couture handmade elegant

I’m hoping to seal them with a burgundy wax rose. But, I have to purchase a lighter and do a couple practice ones first before I try it on one….That will be a project for another day!

DIY boxed wedding invitation couture handmade elegant

How to Make a Formal Save the Date Card

save the date DIY

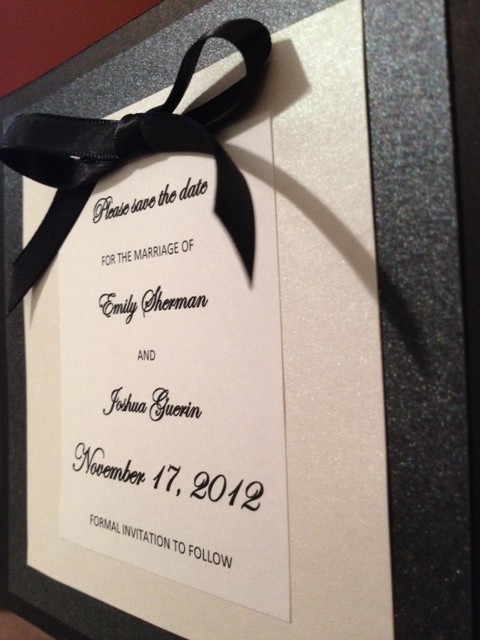
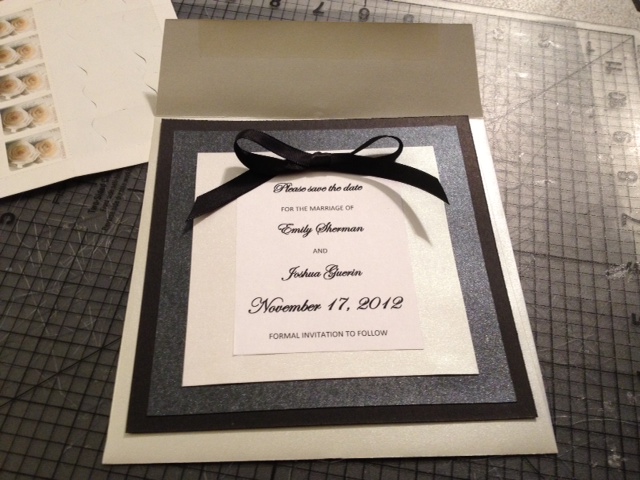
Here it is as requested – the tutorial (with pictures this time!) for how to make your own formal save the date card! I hope you find this useful in creating your own 🙂

Total cost per card: $0.68

Materials Required:

  1. Project Board (black) – 12″ x 12″ sheets
  2. Shimmer Cardstock Paper – 8.5 x 11″ sheets
  3. Shimmer envelopes – 6.5 x 6.5″ squares
  4. Rose seal stickers
  5. 25 yards of black satin ribbon (9mm thick)
  6. Scotch permanent glue
  7. Adhesive tape runner
  8. Hole punch 1/8″

How to Make the Save the Date Card:

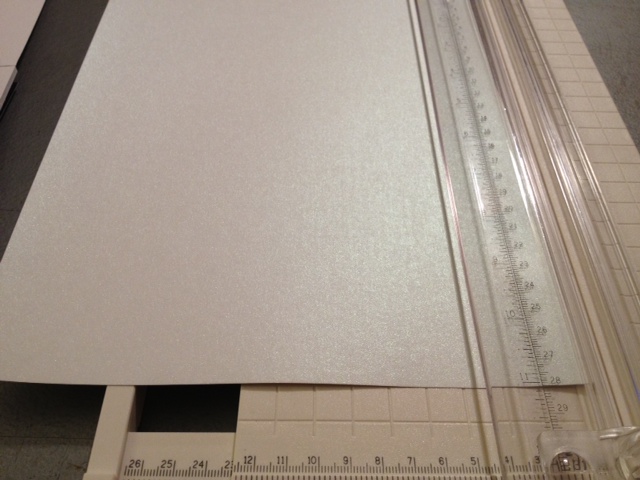
Take a 12 x 12″ sheet of project board and use your trimmer to cut it into four 6 x 6″ squares.

diy save the date handmade how to

diy save the date handmade how to

Next take your 8.5 x 11″ shimmery cardstock in the accent color of your choice and use your trimmer to measure and cut out two 5.5 x 5.5″ squares.

diy save the date handmade how to

diy save the date handmade how to

Then take your white, cream or ivory colored 8.5 x 11″ shimmery cardstock and use your trimmer to measure and cut out two 4.5 x 4.5″ squares.

diy save the date handmade how to

diy save the date handmade how to

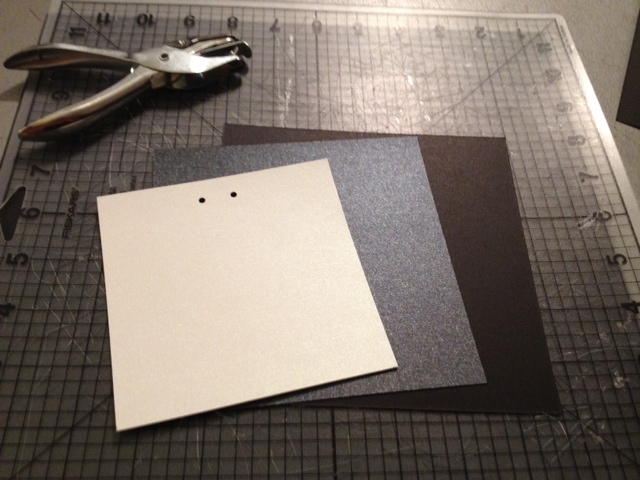
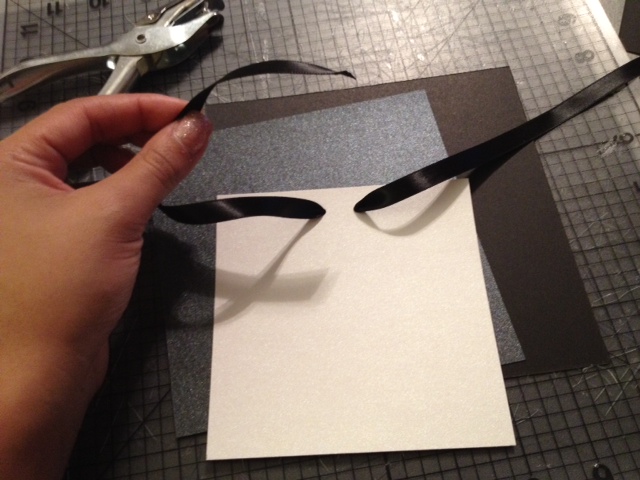
Then take the hole puncher and cut out two 1/8″ inch holes approximately 0.5 inch down from the top of the white square so that the two holes are in the center and 0.5 inch apart from each other. Using a ruler, you should punch a hole at the 2 inch mark and 2.75 inch mark.

save the date DIY handmade how to tutorial

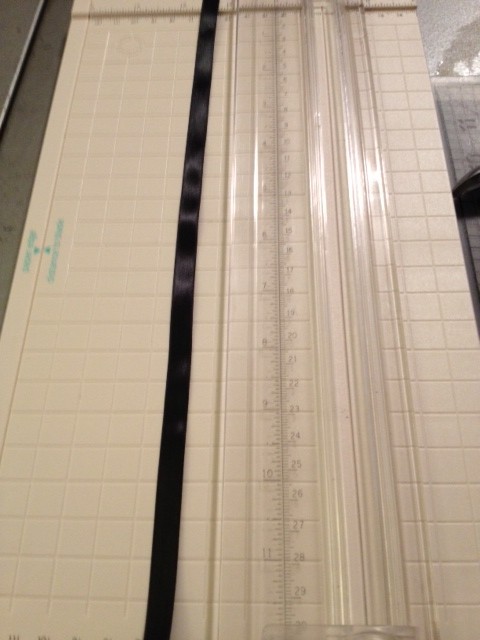
Then, cut your 9mm wide black satin ribbon (approximately 14 inches in length).

save the date DIY handmade how to tutorial

Angle both ends of the ribbon so you can easily loop them through both holes of the card.

save the date DIY handmade how to tutorial

Then tie the ends into a bow in the middle.

save the date DIY handmade how to tutorial

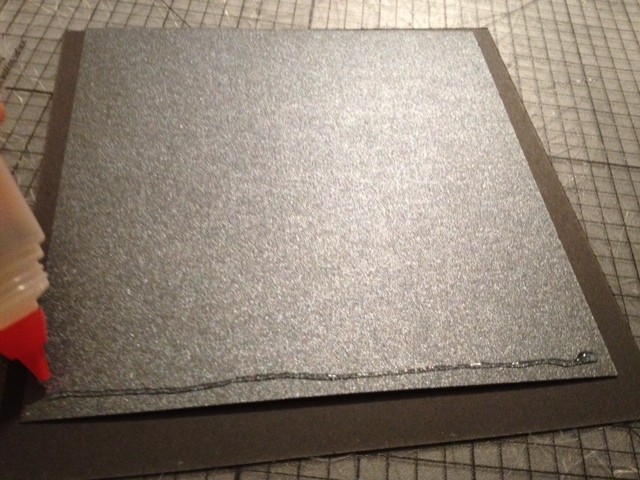
Now you are ready to glue your pieces together. Take the 5.5 x 5.5 inch square and glue it in the middle of the 6 x 6″ black square so that it is exactly in the middle with a 0.5 inch border around it. IMPORTANT! Only about a thin line of glue will do!

save the date DIY handmade how to tutorial

Press the cardstock down firmly and allow to dry. Then apply glue to the back of the cardstock square with the ribbon bow. Press it down so that it’s centered with a 0.5 inch border around it and allow it to fully dry.

save the date DIY handmade how to tutorial

save the date DIY handmade how to tutorial

save the date DIY handmade how to tutorial

Trim the ends of the bow and angle them.

 save the date DIY handmade how to tutorial

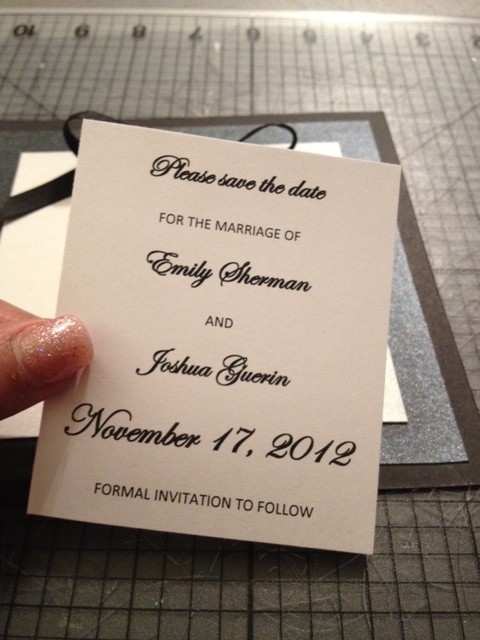
Now it’s time to add your text. I did this the easy way but if you’re really patient and ambitious, you can try printing out the text directly on the ivory shimmery cardstock and cutting that out. Problem is, I didn’t want to waste cardstock paper with mess ups so I just printed out text on regular computer paper. I did a few practice printouts to get it just right. I used a regular MS Word font – nothing special and nothing that I had to pay for. Honestly, does it really matter?

save the date diy handmade tutorial how to

save the date diy handmade tutorial how to

Cut out your text using your trimmer so that you have an even border around it.

save the date diy handmade tutorial how to

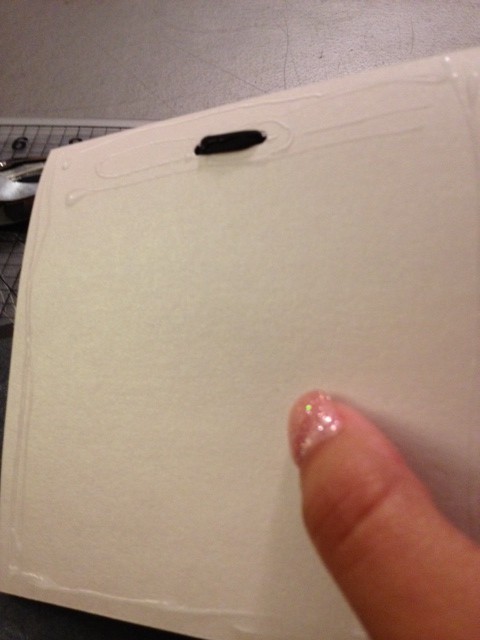
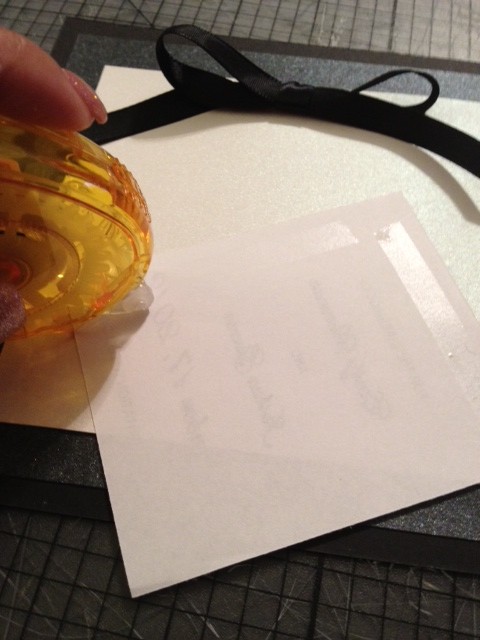
Now, apply adhesive tape using a tape runner to the edges on the back of the square. This is important particularly if you are using regularly computer paper because you don’t want the glue to bleed through or rumple the paper.

save the date diy handmade tutorial how to

Line it up and press it down – and voila! You have completed your save the date card!

save the date diy handmade tutorial how to

save the date DIY

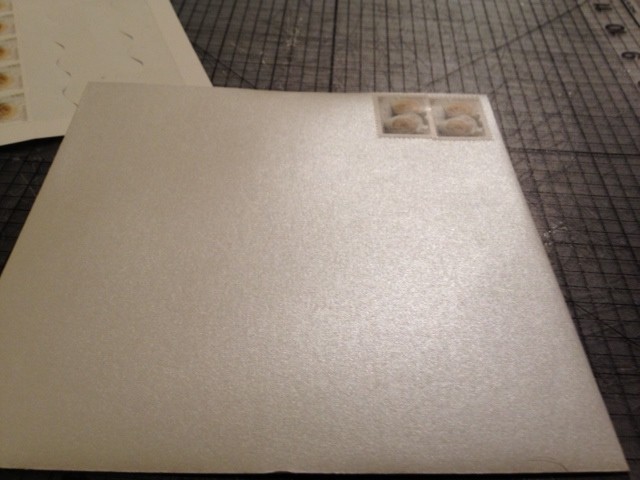
Now you can use a 6.5 x 6.5″ shimmery envelope (I bought mine from eBay) and use a seal sticker of your choice on the back. For my invitations, I’m thinking of using a wax seal! But the silver rose stickers I used are by Wilton and I bought them on sale at Joann’s.

save the date diy handmade tutorial how to

save the date diy handmade tutorial how to

save the date DIY

save the date DIY

So, with my mother, grandmother, and cousin available to help me out last Sunday, we were able to crank out all 70 save the date cards and get them in the mail. By having a couple trimmers, a few glue sticks, scissors, rulers, and pens, we developed a great assembly line and were able to put them all together in only a few hours. If I tried to do them all myself – it probably would’ve taken a couple weeks squeezing in time here and there after work and in between MBA classes. I recommend gathering some friends together to help you out so you can get your save the dates or invitations done much faster! Some of these steps are so simple that your helpers don’t have to be super crafty to accomplish them, though you may want to do a couple spot checks before you seal all those envelopes – you know, just in case a bow is a little frayed at the ends or an edge could be cleaned up a tad! 😉

Good luck with your own save the dates and I hope this helps!

10 Unique Save the Date Cards

I’m still trying to decide on which direction to take for the save the date cards. I know I should get crackin soon since they are supposed to be mailed out at least 6-7 months before the wedding, especially if the wedding is close to a holiday (which ours is, falling on the weekend before Thanksgiving). Now that my valentine’s day card frenzy has come to a rest, and I took a couple weeks off from crafting & blogging to focus on booking important wedding vendors, I can finally get focused on the fun stuff – the cute little details!

I browsed around online for some inspiration and thought I’d share some of my top favorites with you to get your creative juices flowing for your own save the dates. Take a look at these top 10 cute and unique save the date cards!

(click each image to be directed to the link)

1. Thumbprint Save the Date

thumbprint save the date handmade card

2. Matchbox Save the Date

Match box save the dates unique creative

3. Ribbon Save the Date

ribbon save the dates unique handmade

4. Equation Save the Date

creative save the date photo card

5. Video Save the Date

6. Board Game Save the Date

board game scrabble save the date unique card

7. Clever Photoshop Save the Date

photoshop save the date unique

8. Vintage Hankerchief Save the Date

vintage save the date creative ideas

9. Spinning Wheel Save the Date

spin wheel unique save the date idea

10. Message in a Bottle Save the Date

message bottle unique save the date creative ideas

DIY Green Wedding: Recycled Glass & Beeswax Candles

I’m getting more ideas for our wedding decor for our reception at the Glen Manor House in Portsmouth, RI which is only 9 months away! (Coming up in November 2012)

DIY wedding beeswax candles green wedding

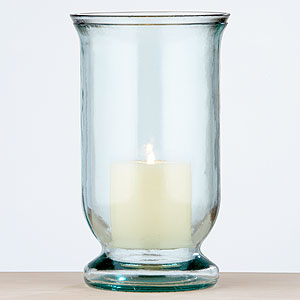
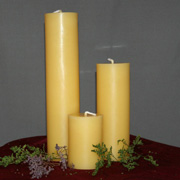
I love flowers very much, but I’m trying to keep things practical for the wedding. I love DIY wedding decorations and thought this idea might be nice. Instead of decking out the manor in large tall floral arrangements, I have decided to have the centerpieces be large recycled glass hurricane globes with beeswax pillar candles inside. Around the base of the hurricane globe, I want to put little tealights (also in recycled glass holders) and have some rose petals scattered lightly around the center of the table.

The best parts about this concept is that we can keep the costs down and keep it a little more green, all while making the Gilded Age style mansion even more beautiful with twinkling candlelit tables and fireplace mantles. This historic manor is so richly decorated that it doesn’t need much added to it, and thus we can get away with a bit less.

Checkout some of these links for where you can purchase recycled glass hurricane globes, votive & tea light holders. I have also provided links for you to purchase your own 100% beeswax candles with cotton wicks – much healthier for the air than those paraffin wax candles made in China.

1. Recycled glass holders at affordable price (Large one is $14.99).

Visit World Market to see the other recycled glass products and candle holders.

Recycled glass hurricane candle holder globe

2. Beeswax pillars, tapers, tealights, votives, and more – range in price based on the size of the candle. They are a little more expensive than regular paraffin wax candles but, think of how much you would spend if you had a floral arrangement for your centerpiece? I found that Beelite Candles had reasonable prices of around $11-15 per large pillar.

beeswax candles DIY green wedding

Happy DIY wedding-planning to all the new crafty brides out there! 🙂

DIY Save the Date Cards

Making my own save-the-date cards and wedding invitations is something I always knew I’d be rolling up my sleeves for. I’ll probably end up typing the real things since my calligraphy can get a little sloppy…and by the time I’ve done 50 of them, I might have carpal tunnel. I’m still trying to figure out the colors too. I never thought picking colors would be so complicated or that there were so many rules involved with this stuff.

What I do know is that I’m pretty sure the bridesmaids will be wearing floor length navy blue dresses for our November 2012 wedding. And maybe they’ll have red-colored flowers? I actually really like red mums. Anyways…I’m still brainstorming but felt that I needed to do a practice session of DIY Save the Date card-making. I think I’ll do a few different styles until I figure out the right look, then get my card stock stacks and trimmer ready for mass production of them. At least save-the-dates don’t need to be mailed until 6 months before the wedding! I have time to figure it out. Hope this practice card take # 1 looks ok!
save the date card DIY

save the date card diy card making

Save the Date DIY wedding

Save the Date Cards Handmade