How to Make a Formal Save the Date Card

save the date DIY

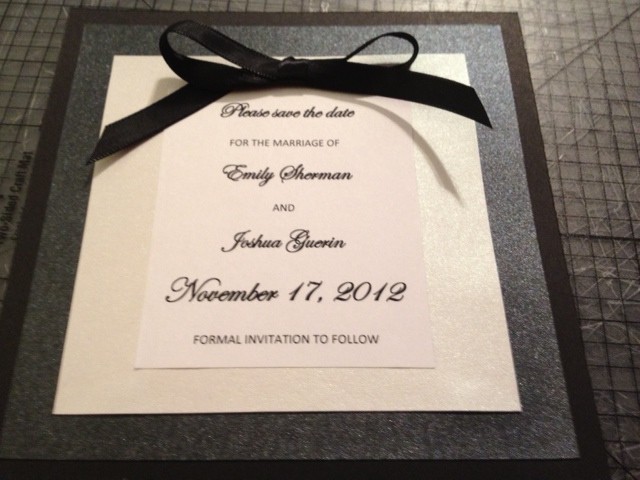
Here it is as requested – the tutorial (with pictures this time!) for how to make your own formal save the date card! I hope you find this useful in creating your own 🙂

Total cost per card: $0.68

Materials Required:

  1. Project Board (black) – 12″ x 12″ sheets
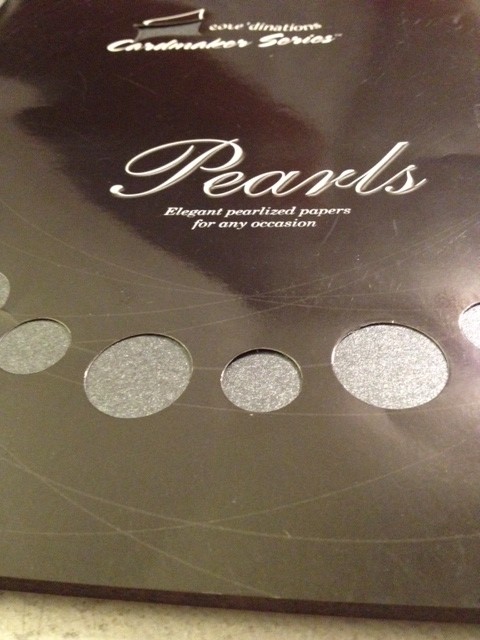
  2. Shimmer Cardstock Paper – 8.5 x 11″ sheets
  3. Shimmer envelopes – 6.5 x 6.5″ squares
  4. Rose seal stickers
  5. 25 yards of black satin ribbon (9mm thick)
  6. Scotch permanent glue
  7. Adhesive tape runner
  8. Hole punch 1/8″

How to Make the Save the Date Card:

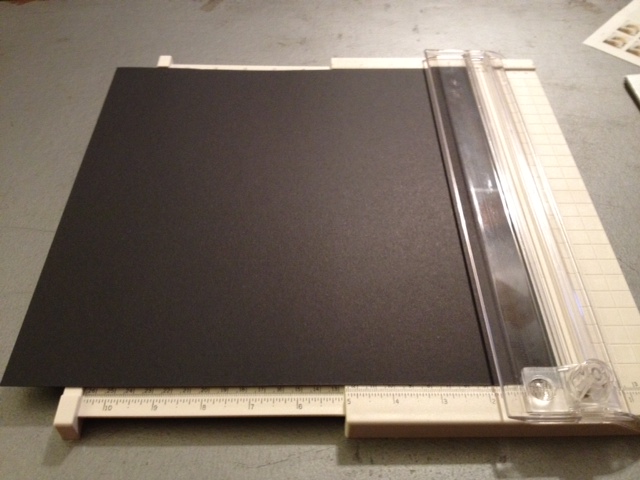
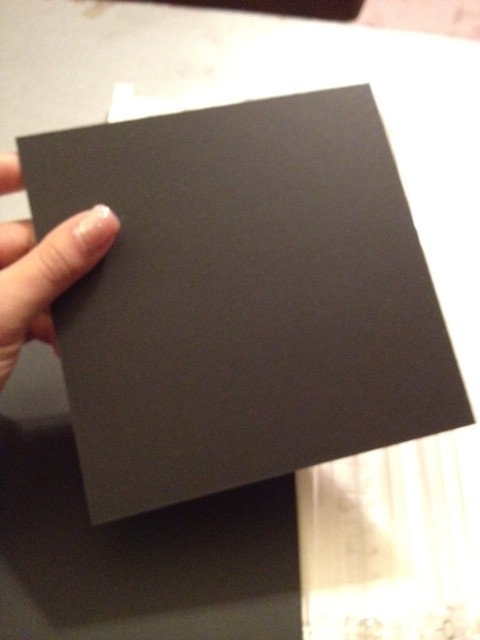
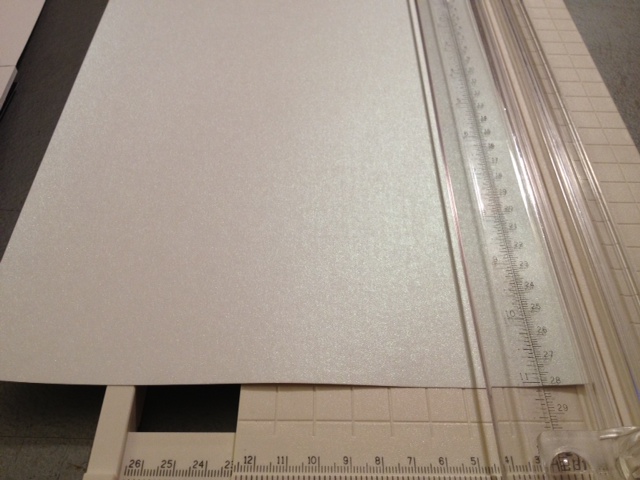
Take a 12 x 12″ sheet of project board and use your trimmer to cut it into four 6 x 6″ squares.

diy save the date handmade how to

diy save the date handmade how to

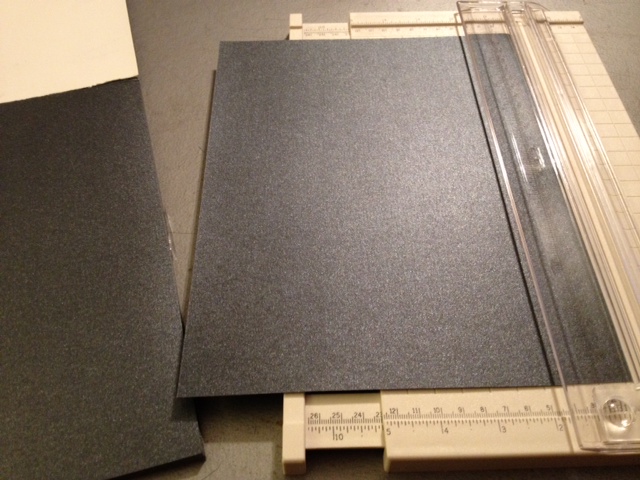
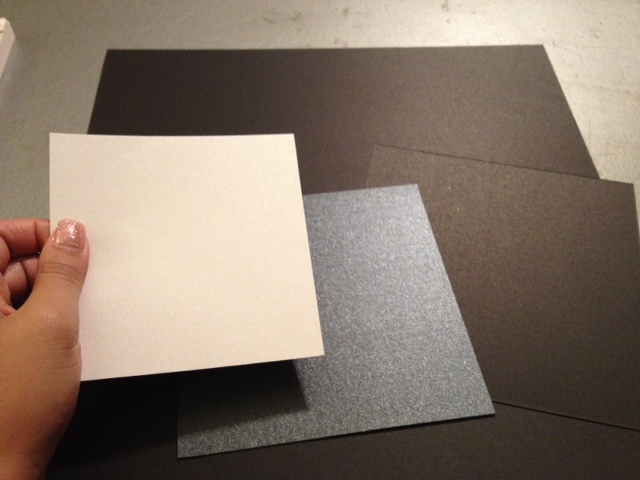
Next take your 8.5 x 11″ shimmery cardstock in the accent color of your choice and use your trimmer to measure and cut out two 5.5 x 5.5″ squares.

diy save the date handmade how to

diy save the date handmade how to

Then take your white, cream or ivory colored 8.5 x 11″ shimmery cardstock and use your trimmer to measure and cut out two 4.5 x 4.5″ squares.

diy save the date handmade how to

diy save the date handmade how to

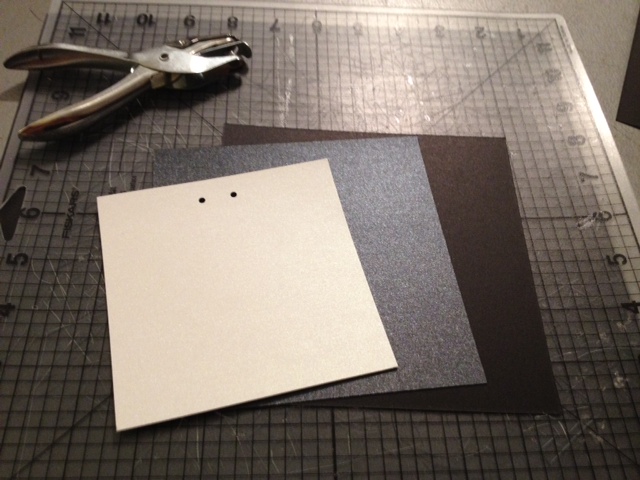
Then take the hole puncher and cut out two 1/8″ inch holes approximately 0.5 inch down from the top of the white square so that the two holes are in the center and 0.5 inch apart from each other. Using a ruler, you should punch a hole at the 2 inch mark and 2.75 inch mark.

save the date DIY handmade how to tutorial

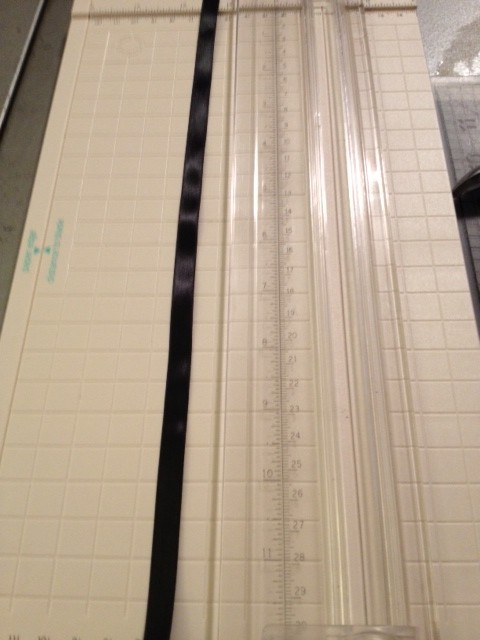
Then, cut your 9mm wide black satin ribbon (approximately 14 inches in length).

save the date DIY handmade how to tutorial

Angle both ends of the ribbon so you can easily loop them through both holes of the card.

save the date DIY handmade how to tutorial

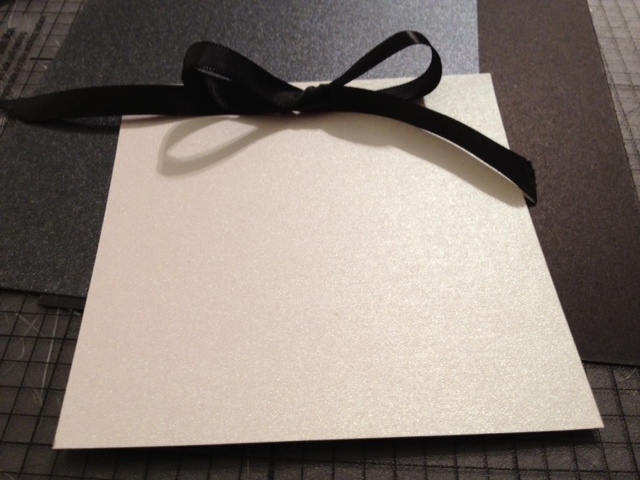
Then tie the ends into a bow in the middle.

save the date DIY handmade how to tutorial

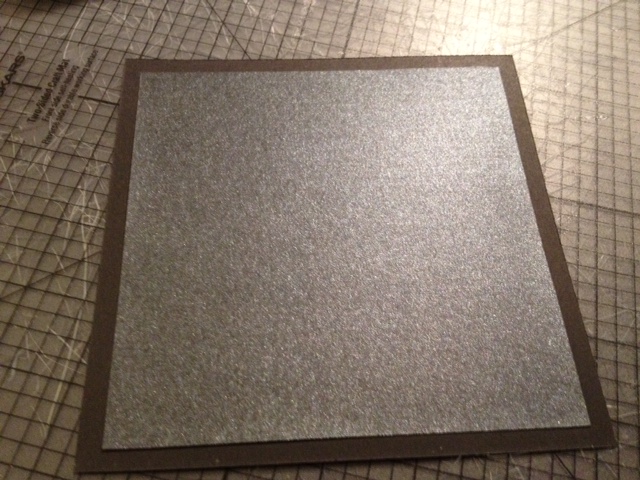
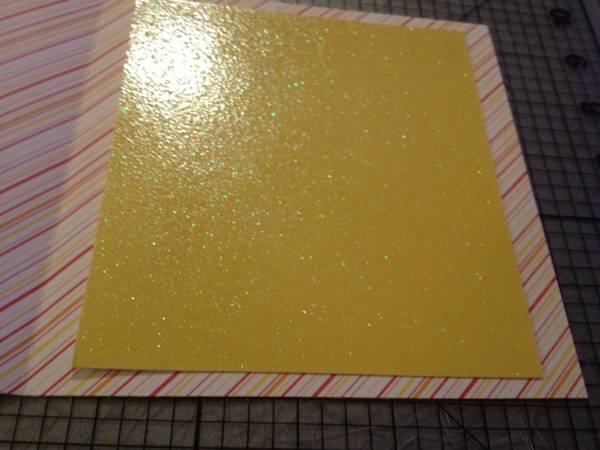
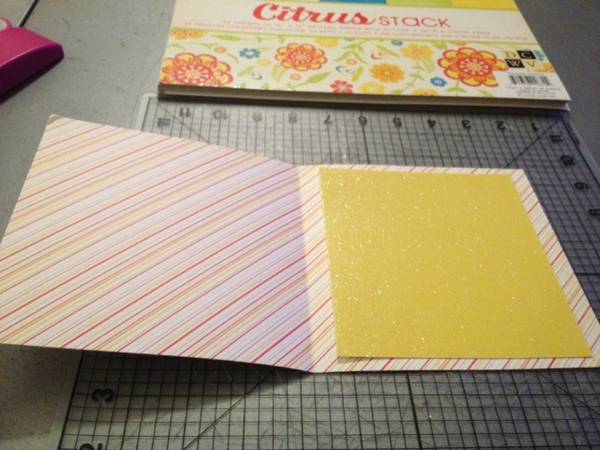
Now you are ready to glue your pieces together. Take the 5.5 x 5.5 inch square and glue it in the middle of the 6 x 6″ black square so that it is exactly in the middle with a 0.5 inch border around it. IMPORTANT! Only about a thin line of glue will do!

save the date DIY handmade how to tutorial

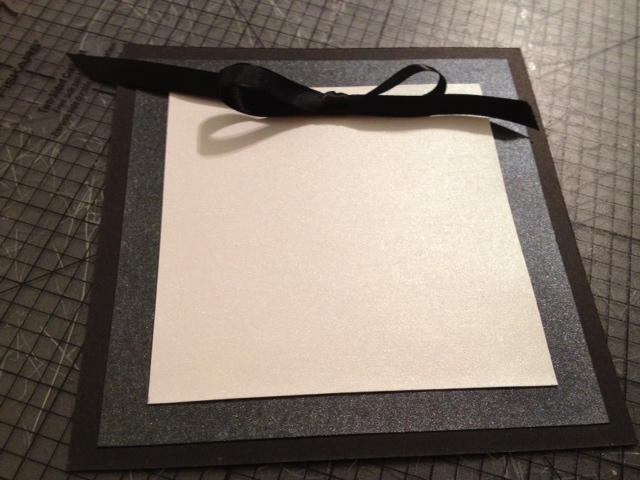
Press the cardstock down firmly and allow to dry. Then apply glue to the back of the cardstock square with the ribbon bow. Press it down so that it’s centered with a 0.5 inch border around it and allow it to fully dry.

save the date DIY handmade how to tutorial

save the date DIY handmade how to tutorial

save the date DIY handmade how to tutorial

Trim the ends of the bow and angle them.

 save the date DIY handmade how to tutorial

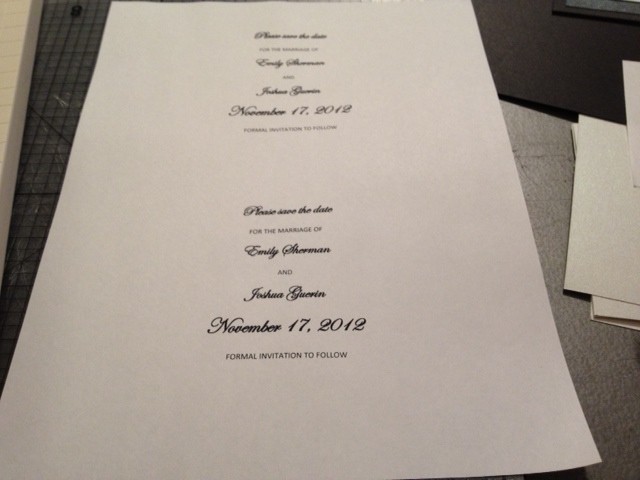
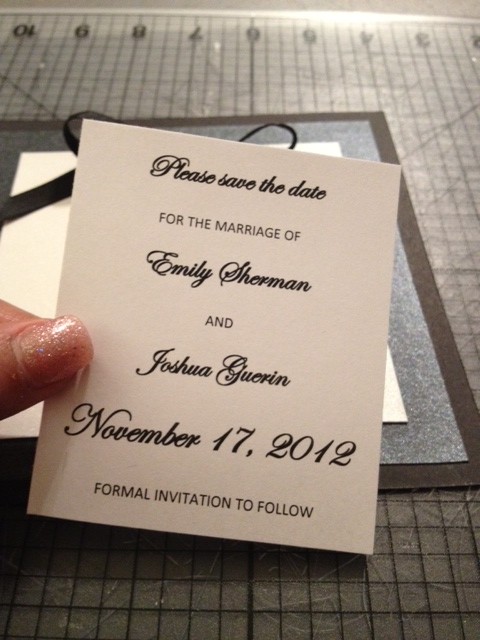
Now it’s time to add your text. I did this the easy way but if you’re really patient and ambitious, you can try printing out the text directly on the ivory shimmery cardstock and cutting that out. Problem is, I didn’t want to waste cardstock paper with mess ups so I just printed out text on regular computer paper. I did a few practice printouts to get it just right. I used a regular MS Word font – nothing special and nothing that I had to pay for. Honestly, does it really matter?

save the date diy handmade tutorial how to

save the date diy handmade tutorial how to

Cut out your text using your trimmer so that you have an even border around it.

save the date diy handmade tutorial how to

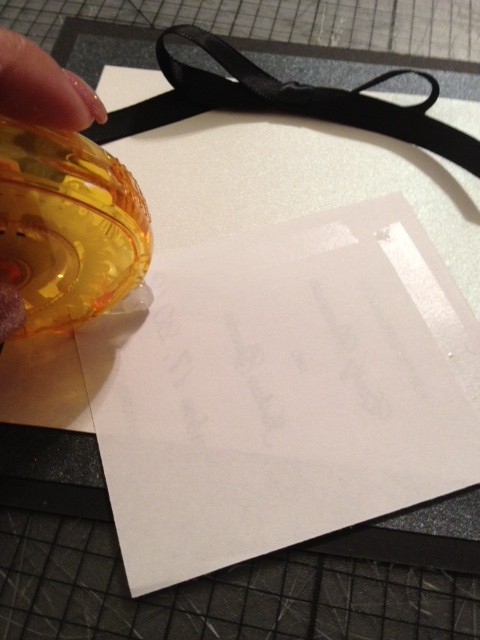
Now, apply adhesive tape using a tape runner to the edges on the back of the square. This is important particularly if you are using regularly computer paper because you don’t want the glue to bleed through or rumple the paper.

save the date diy handmade tutorial how to

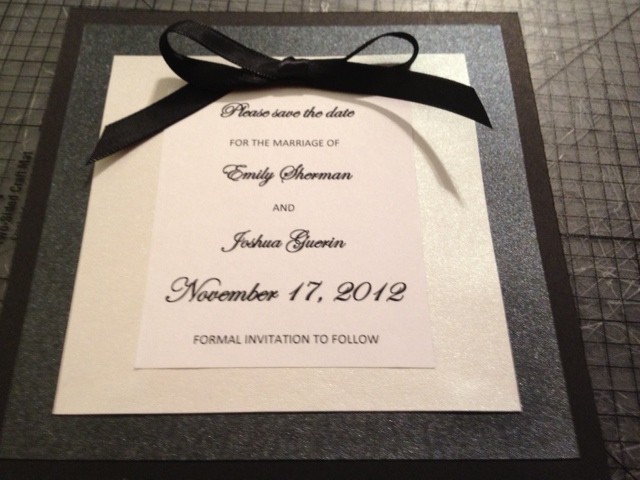
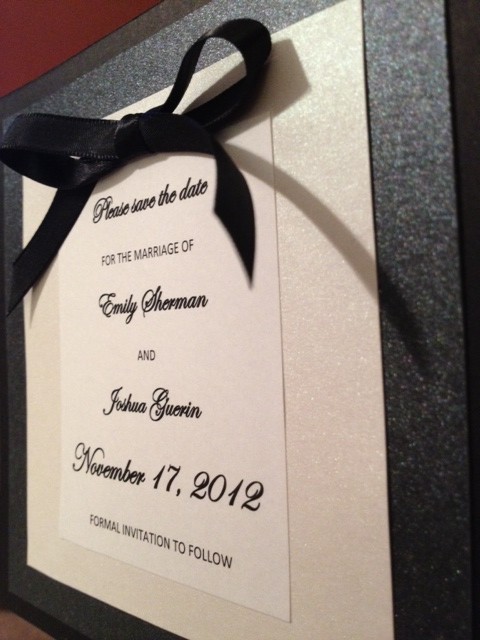
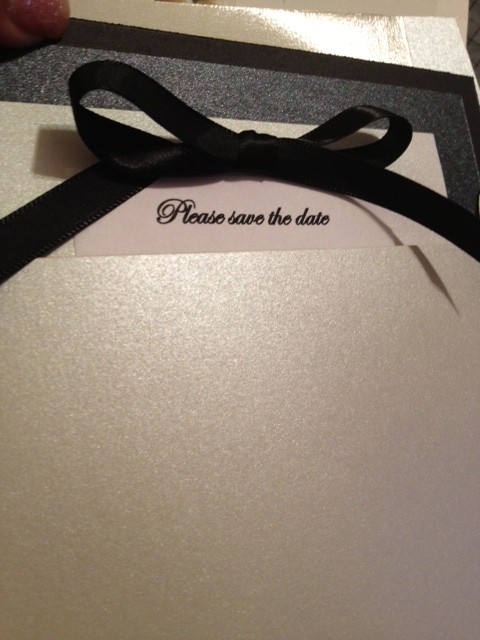
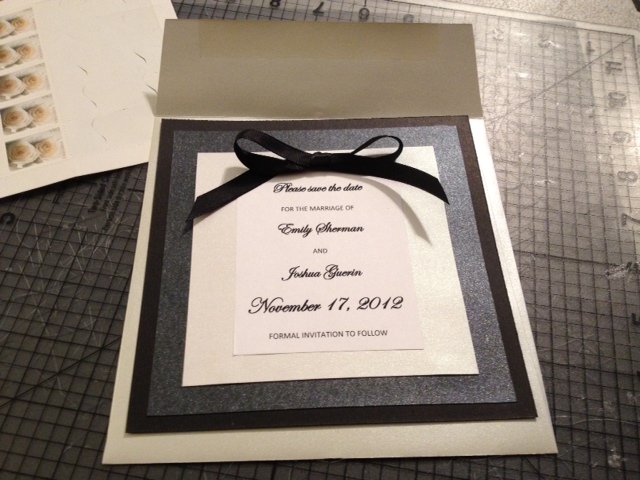
Line it up and press it down – and voila! You have completed your save the date card!

save the date diy handmade tutorial how to

save the date DIY

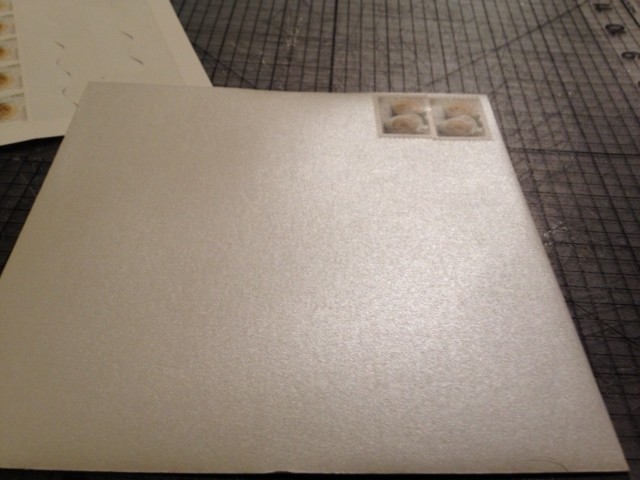
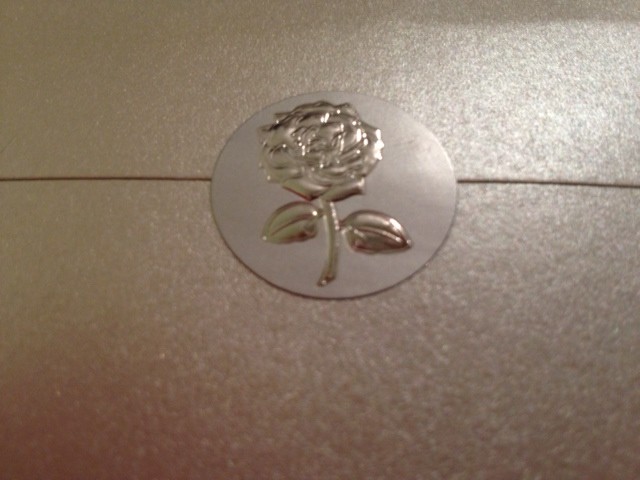
Now you can use a 6.5 x 6.5″ shimmery envelope (I bought mine from eBay) and use a seal sticker of your choice on the back. For my invitations, I’m thinking of using a wax seal! But the silver rose stickers I used are by Wilton and I bought them on sale at Joann’s.

save the date diy handmade tutorial how to

save the date diy handmade tutorial how to

save the date DIY

save the date DIY

So, with my mother, grandmother, and cousin available to help me out last Sunday, we were able to crank out all 70 save the date cards and get them in the mail. By having a couple trimmers, a few glue sticks, scissors, rulers, and pens, we developed a great assembly line and were able to put them all together in only a few hours. If I tried to do them all myself – it probably would’ve taken a couple weeks squeezing in time here and there after work and in between MBA classes. I recommend gathering some friends together to help you out so you can get your save the dates or invitations done much faster! Some of these steps are so simple that your helpers don’t have to be super crafty to accomplish them, though you may want to do a couple spot checks before you seal all those envelopes – you know, just in case a bow is a little frayed at the ends or an edge could be cleaned up a tad! 😉

Good luck with your own save the dates and I hope this helps!
Tutorial: Waterfall Pull Tab Card

I am so sorry for the delay in posting this tutorial! This week has been pretty busy and I know I anticipated having this done Wednesday night…so I hope this allows enough time for some of you who requested a tutorial, to make the cards you wanted in time!!!

I can say that this card isn’t too tricky to make.  I did the whole thing in about an hour last night. While it looks fancy and complicated, the mechanism is simple. A waterfall pull tab card can be seen in my previous post,  Valentine Pop Up Card: Hidden Message, and seen in video action in the post Happy Birthday Waterfall Card.

Ok so now the question – how to make this card?

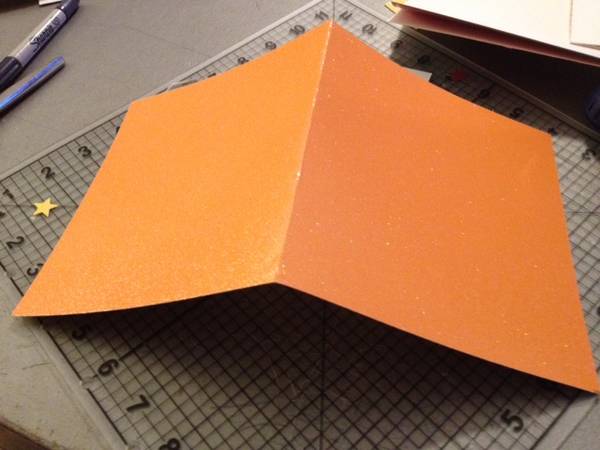
1. Start out with a 12 x 12 piece of cardstock and cut in half so you have a 12 x 6″ piece. Score and fold in the middle so you have a folded 6 x 6″ square card. Cut an additional piece of cardstock (in a different color/pattern), into a 5 x 5″ square and place it in the inside of your card.

tutorial pop up card how to make a waterfall card

tutorial pop up card how to make a waterfall card

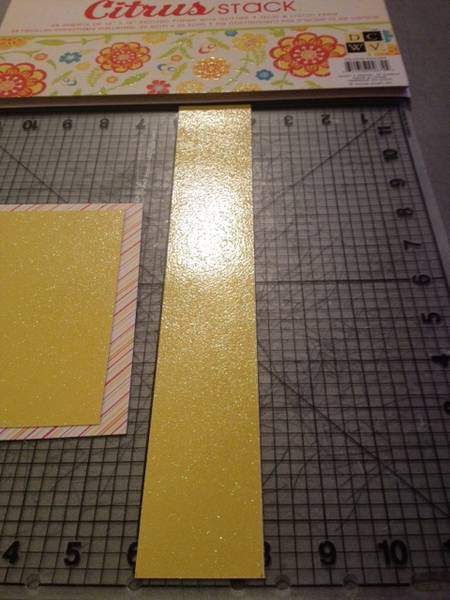
2. Now cut a 12″ x 2″ strip of paper (preferably the same type of cardstock as your 5 x 5″ square). This strip will be covered by another color and type of paper later on. This will serve as the mechanism for the tab.

tutorial pop up card how to make a waterfall card

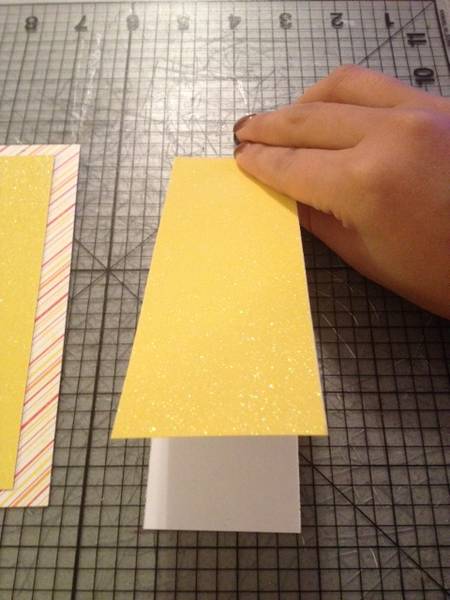
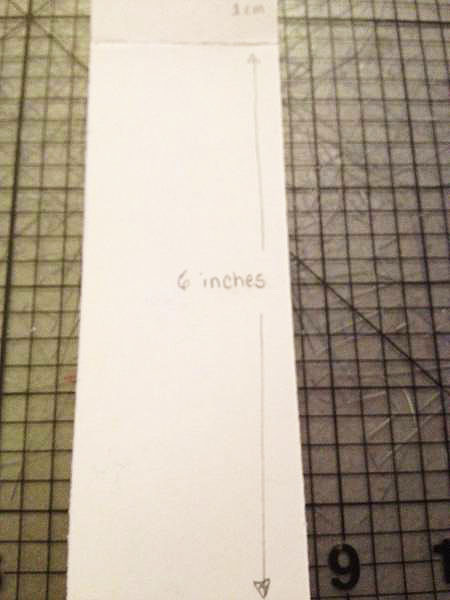
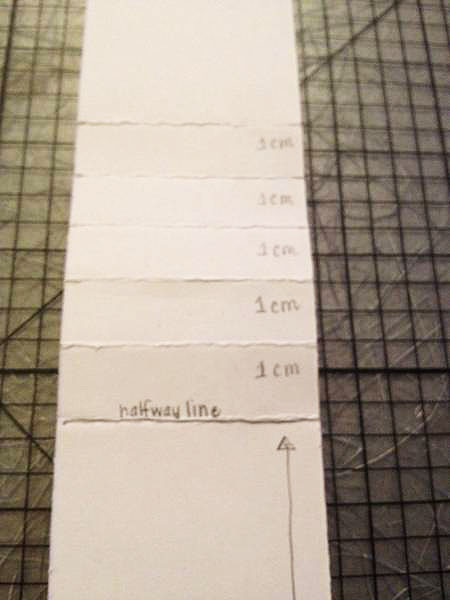
3. Fold the strip in half (so you have a 6″ long strip when folded). Open the strip up and mark five 1 cm lines (note centimeter measurement), above the half way line. So you should have 6 inches at the bottom of the strip, then the fold in the middle of the strip. Then 5 lines each 1 cm apart. Score the lines and fold them in and out so that they are flexible.

tutorial pop up card how to make a waterfall card

tutorial pop up card how to make a waterfall card

Sorry this is so grainy! My iPhone camera wasn’t at its best last night! 🙂 Plus, it’s in pencil which was drawn rather lightly.

tutorial pop up card how to make a waterfall card

4. Now cut a piece of cardstock into 6″ x 2″ (this will be the strip that you pull down and will display a hidden message or image, whatever you want). Since it is 6 x 2″ it should line up perfectly with the bottom half of your tab.
tutorial pop up card how to make a waterfall card

tutorial pop up card how to make a waterfall card

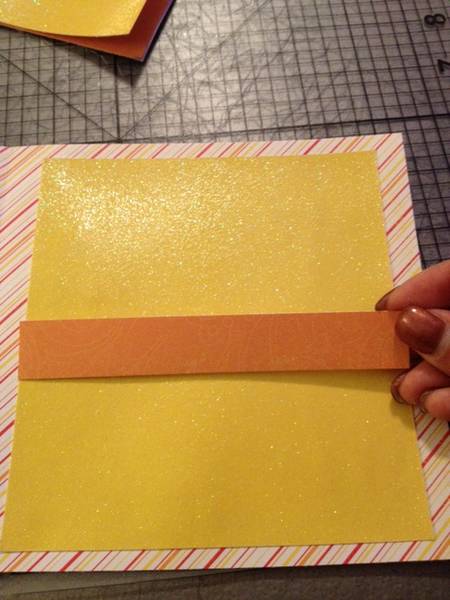
5. Now cut a 5″ x 1″ strip of paper so it should be as wide as your 5 x 5″ square.

tutorial pop up card how to make a waterfall card

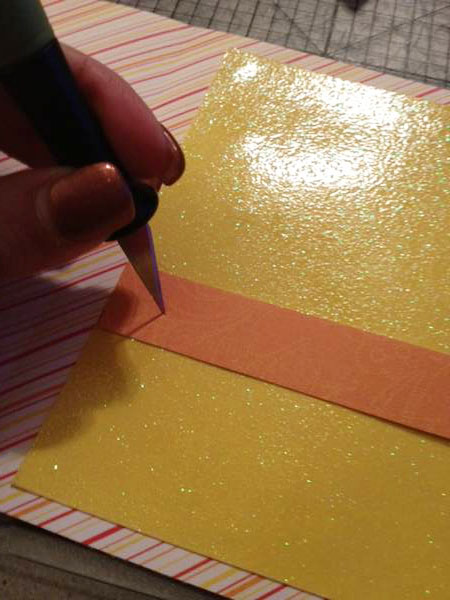
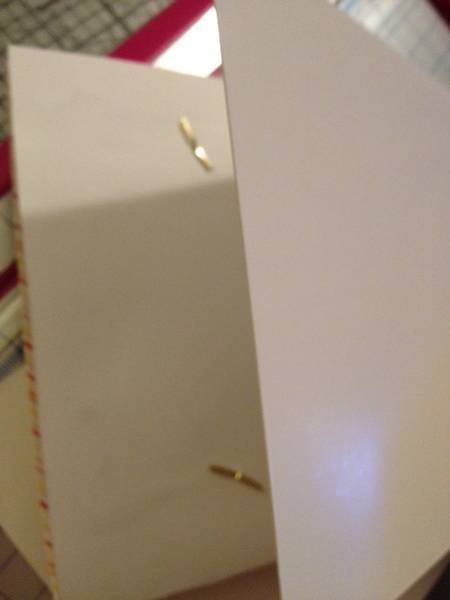
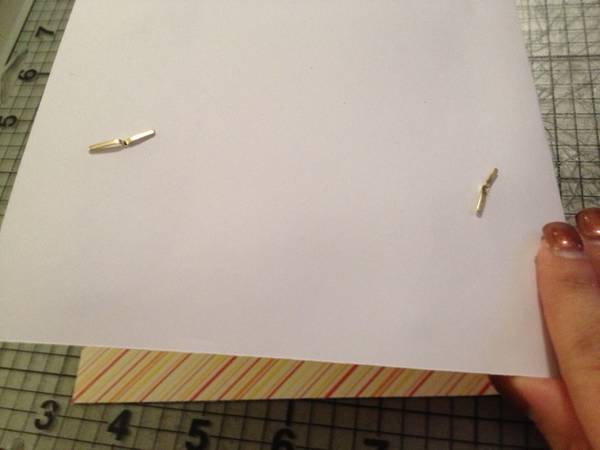
6. Use an x-acto knife (or teeny-tiny paper punch) to poke a hole through both ends of your newly cut 5″ x 1″ strip all the way through your 5 x 5″ square and your card (you will have the holes covered by your front & back cover on the outside of the card at the end of this). The holes do not have to be neat because you are going to insert little brads into them so they’ll be covered up.

tutorial pop up card how to make a waterfall card

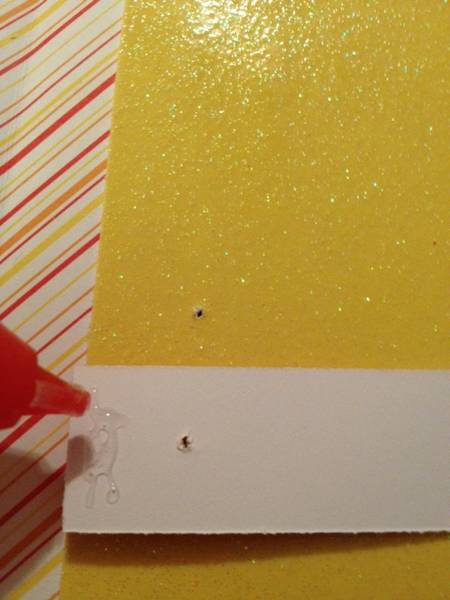
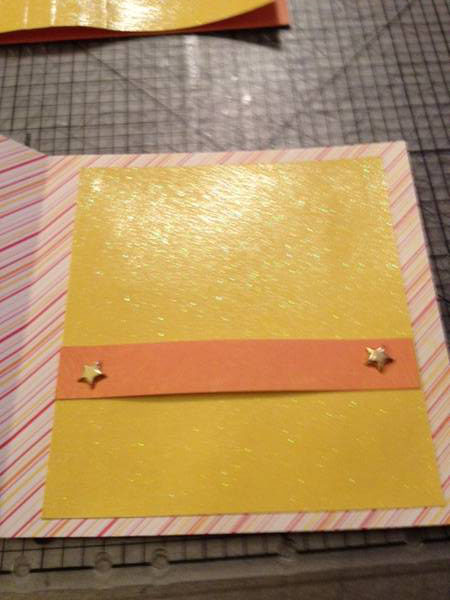
7. Glue on the outer edges of your paper strip outside of the hole you just cut and then line up the holes of the strip to the holes in your card and press down firmly. Then insert the brads into the wholes.

tutorial pop up card how to make a waterfall card

Little star-shaped brads from Joann’s Fabrics

tutorial pop up card how to make a waterfall card

Again, this part below will be covered up by your outside cover of the card in the end.

tutorial pop up card how to make a waterfall card

tutorial pop up card how to make a waterfall card

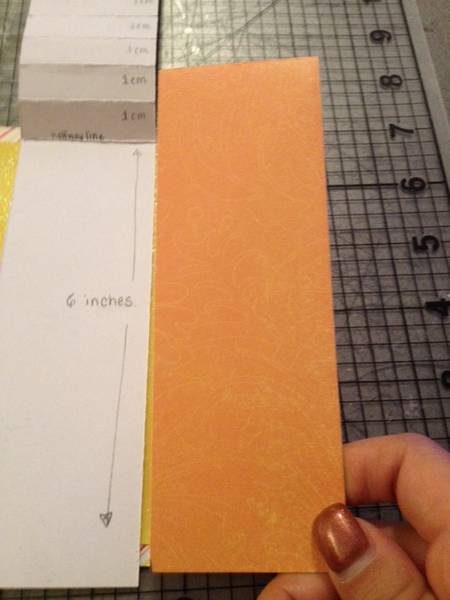
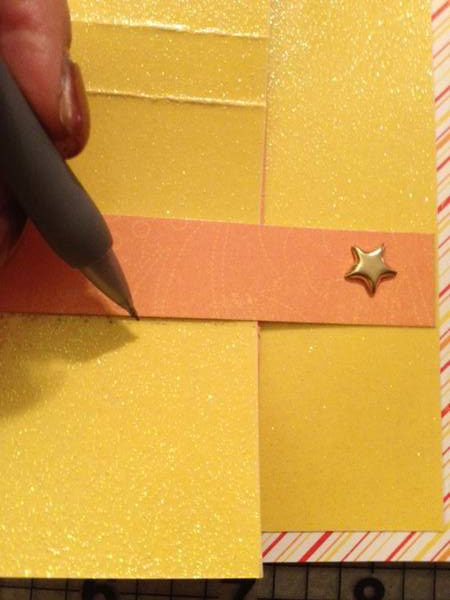
8. Now take your long folded strip (the one where you made the five 1 cm score folds) and insert in under the strip you now secured with brad. Do not glue anything just yet. Line up the strips and trace with pencil where the edges meet. Cut off the excess.

tutorial pop up card how to make a waterfall card

tutorial pop up card how to make a waterfall card

Cut off the excess paper that would hang down below the orange strip.

tutorial pop up card how to make a waterfall card

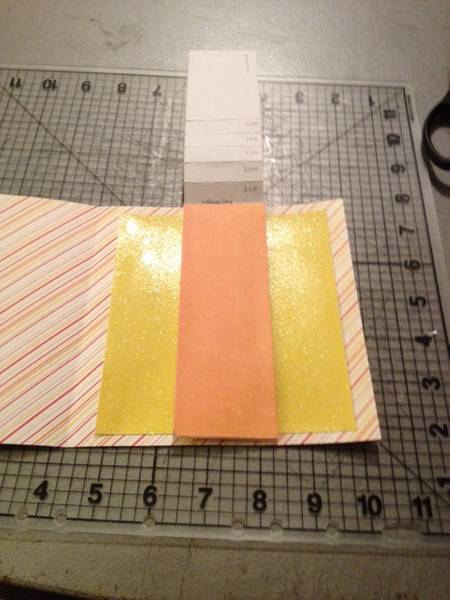
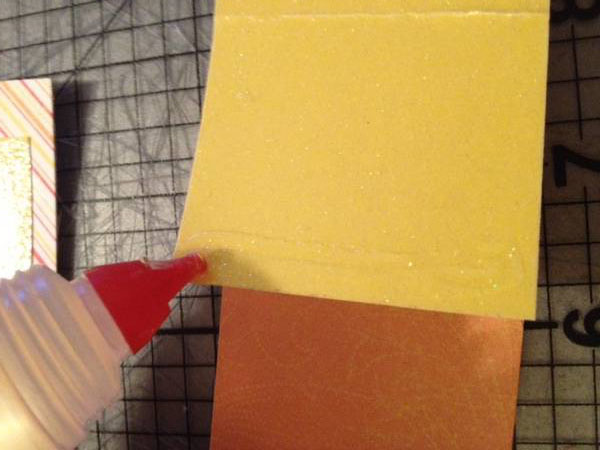
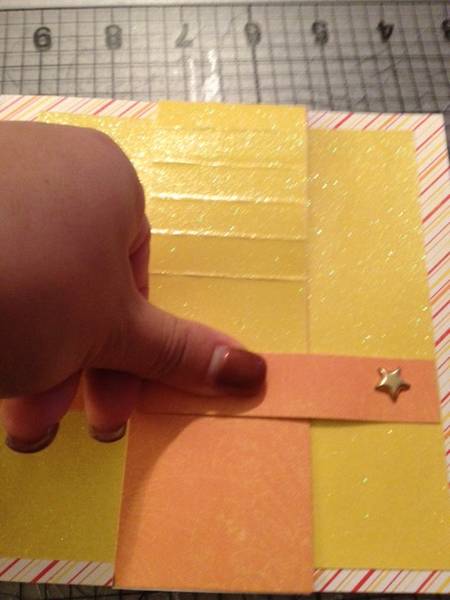
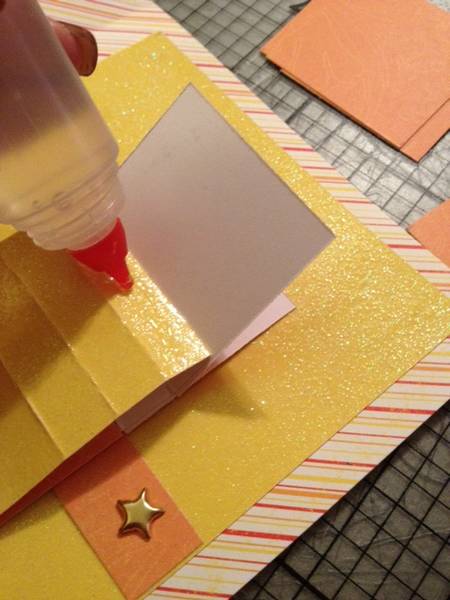
9. Once your excess is cut off, apply a small amount of glue along the edge of the strip and then insert it down under the orange strip and secure it by pressing down firmly so it adheres well.

tutorial pop up card how to make a waterfall card

It might tough to see but there is glue on the tip of the yellow part that I am sliding down in this picture. It is going to go underneath the orange strip and be glued to it.

tutorial pop up card how to make a waterfall card

Press firmly and make sure it’s dried or at least well-secured.

tutorial pop up card how to make a waterfall card

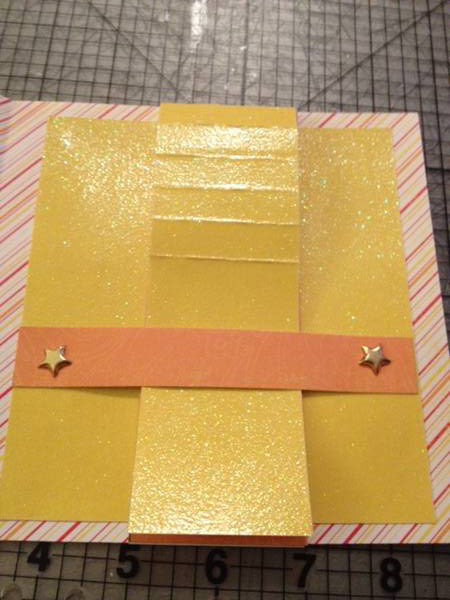
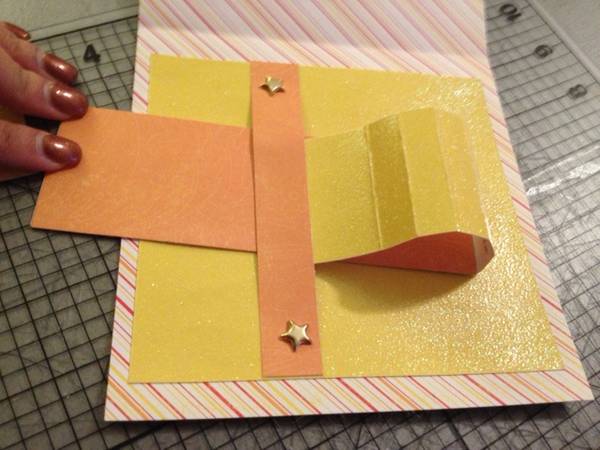
10. Now you have the mechanism ready for your pop up messages.

tutorial pop up card how to make a waterfall card

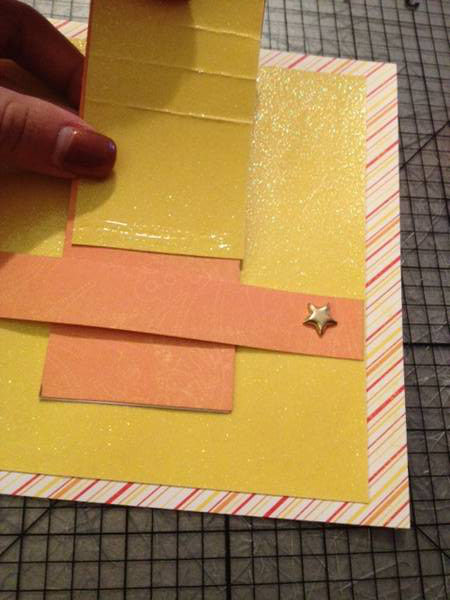
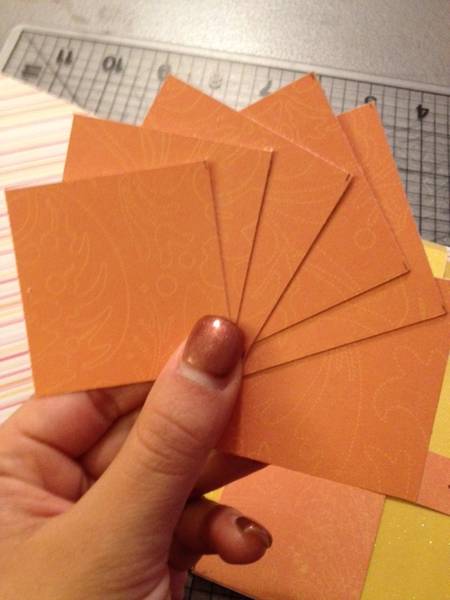
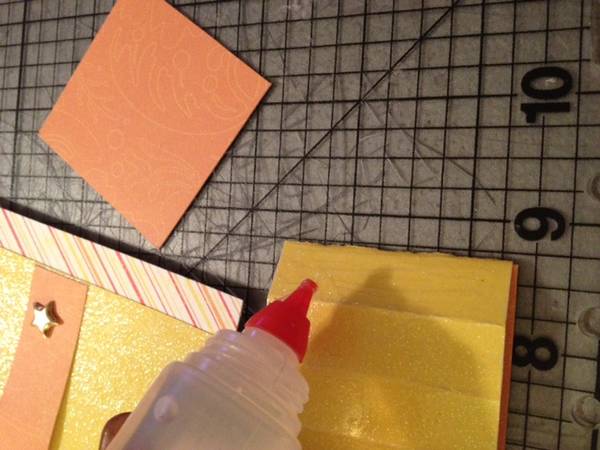
11.  Cut out 6 squares (2″ x 2″) and glue each one along a 1 cm fold so that one square is layered on top of another square with a 1 cm overlap.

tutorial pop up card how to make a waterfall card

tutorial pop up card how to make a waterfall card

So for each 1 cm section where you put glue, line up 1 of your 2″ x 2″ squares and glue it down. Keep this going until you have them all glued.

tutorial pop up card how to make a waterfall card

tutorial pop up card how to make a waterfall card

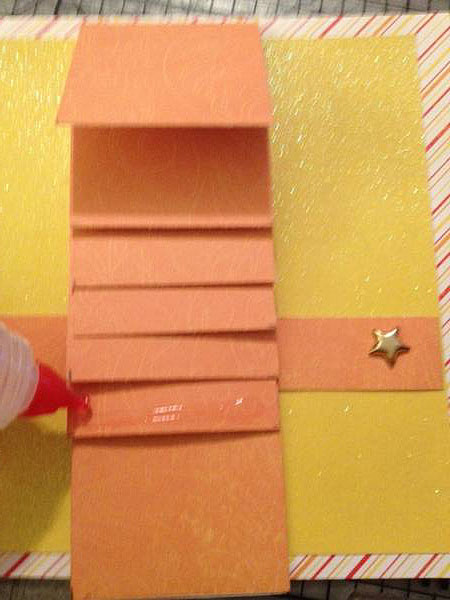
12. Now that you have all the squares glued down on each 1 cm fold, you can put a little glue along the last square on the bottom and this will slide under the orange strip and be secured to it as well (similar to what we did in step # 9.

tutorial pop up card how to make a waterfall card

13. You now have your pull tab mechanism ready for decoration!

tutorial pop up card how to make a waterfall card

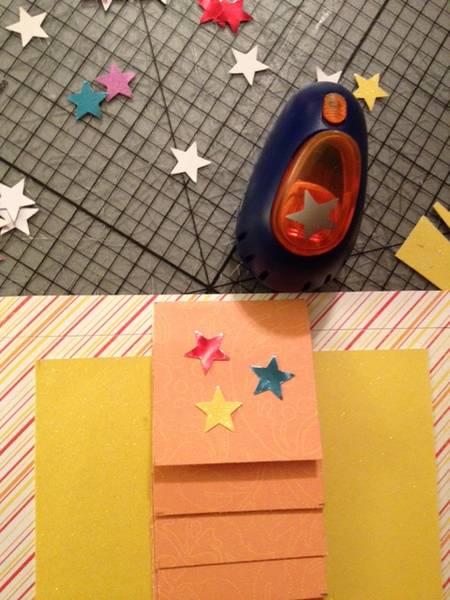
14. I used a mini-paper punch to pop out some stars for decoration on the outer top flap.

tutorial pop up card how to make a waterfall card

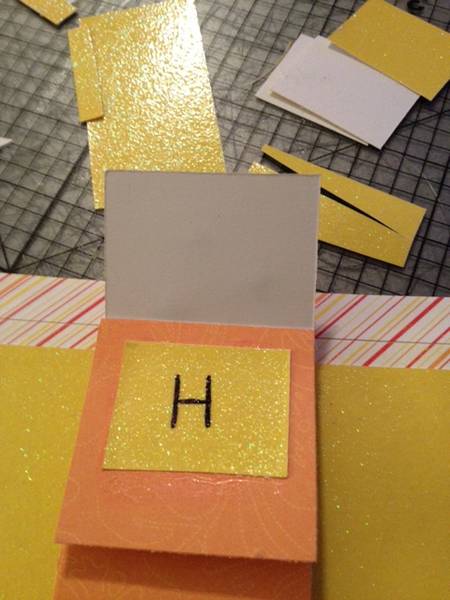
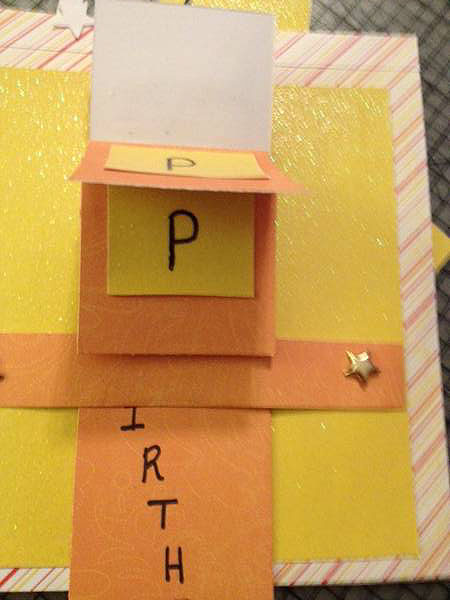
15. Now cut out 5 squares, each 1.5″ x 1.5″ and these will be the squares with the letters H-A-P-P-Y on them. (You can use whatever letters you want to spell out a name or a different word. Or you can use pictures or shapes, it’s really whatever you want to do with it). When you pull the orange tab down all the way, you can write the message you want for it. In this case, I wrote “Birthday” and I always like to do it in pencil first before I break out the sharpie.

tutorial pop up card how to make a waterfall card

tutorial pop up card how to make a waterfall card

tutorial pop up card how to make a waterfall card

tutorial pop up card how to make a waterfall card

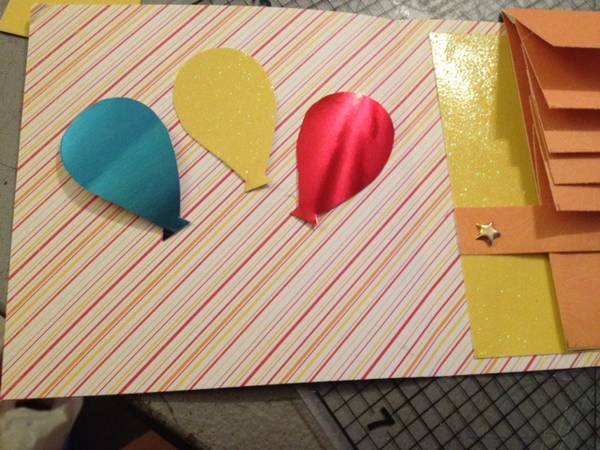
16. Now you can add whatever little cute things you want to the rest of the card. I free-hand drew some balloons and cut them out (all 3 at once because I am lazy). I didn’t have time to add other decorations to this last night but you can use paper stars, add some text, or do whatever you want to make it your own.

17. Now you can cut out poster project board (the sturdy stuff that I love!) and cut out two 6 x 6″ squares (so they should line up perfectly with  the rest of your card) and then cover up that project board with the cardstock of your choice for the outside of the card.

tutorial pop up card how to make a waterfall card

Cover up those brads!

tutorial pop up card how to make a waterfall card

And the piece below will be the outer cover for the card, to be glued to the card and decorated.

tutorial pop up card how to make a waterfall card

I will admit, I didn’t finish the outer part of the card. But, in my defense, I had to choose between either going to bed with wet hair from showering earlier, or quitting my cardmaking for the evening and blow drying it. Since it was 20 degrees last night in Rhode Island,  I chose to blow dry!!!
But, I’m sure most of you are incredibly crafty and good at putting together your own cute looking cover. 🙂 Plus you probably were more interested in the pull tab waterfall mechanism, so I felt that skipping this part wasn’t as crucial.  Let me know if there are any more requests! I will do my best to get them done on time. This has just been a busy season of card making since it’s Valentine’s Day soon and it seems like everyone I know is having a birthday around here.

Happy crafting!!!

DIY: Mardi Gras Feather Mask – Cheap and Quick

In my previous post DIY Mardi Gras Party Decor – Under $50, I showed you an overview on how you can make your own masks and assemble your own centerpieces and decorations for your mardi gras party without spending a lot of money.

Mardi Gras Mask DIY Feather Cheap Handmade

I decided to give you a step by step guide on how to make a feather mask. This one took me less than 15 minutes and cost about $2. If you have more time, patience, and want to make a really fancy mask, you can simply follow these basic steps and add on to it as you wish.

For this tutorial, this what you will need:

1. Cardstock (pick a mardi gras color like purple or green)

2. Project board (black)

3. Feathers

4. X-acto knife

5. Glue

6. Pencil

How to Make Your Own Mardi Gras Mask:

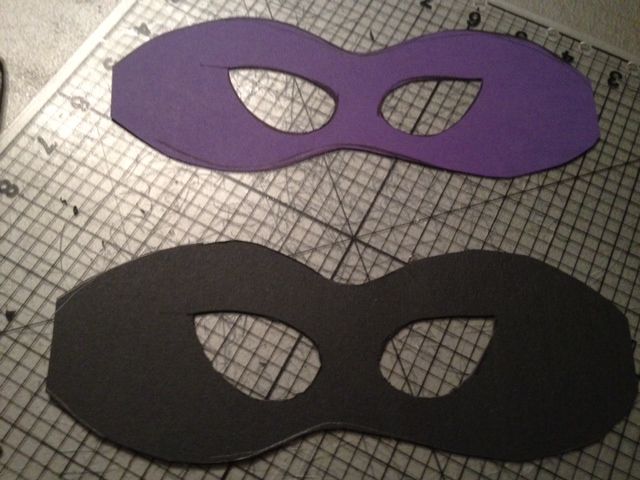
1. Choose 1 sheet of card stock and line it up with your black piece of project board.

Mardi Gras Mask DIY Feather Cheap

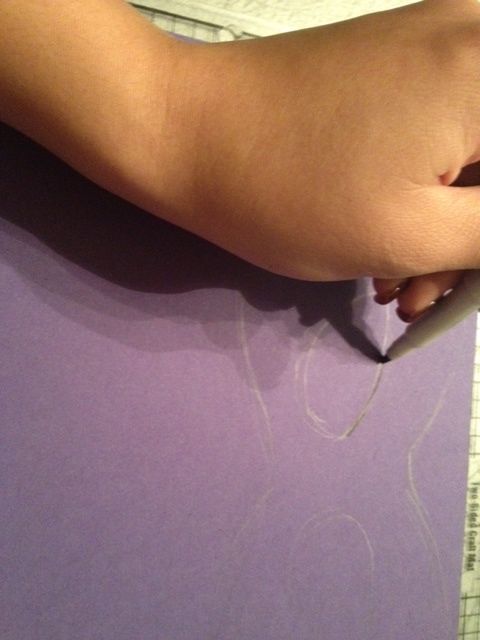
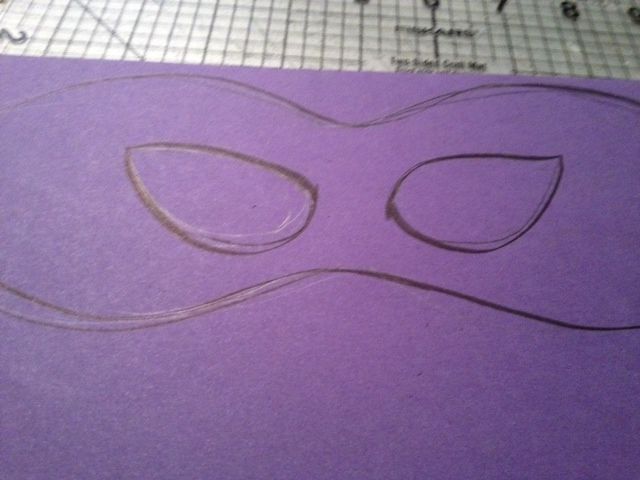
2. Sketch free hand with pencil the shape of the mask you want, including the eyes. Go over it with marker to define exactly where you want to cut.

Mardi Gras Mask DIY Feather Cheap

Mardi Gras Mask DIY Feather Cheap Handmade

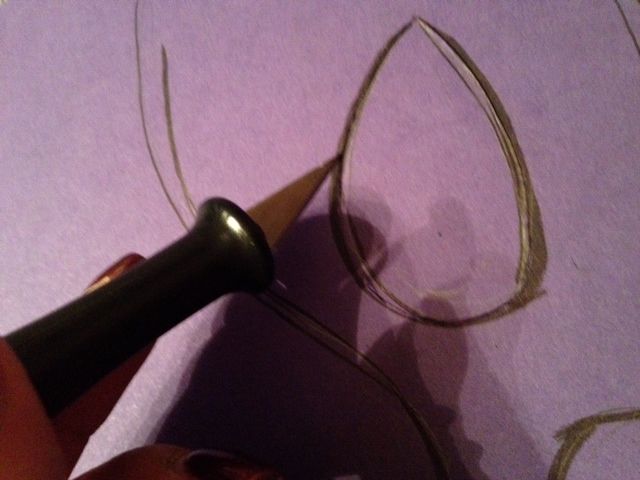
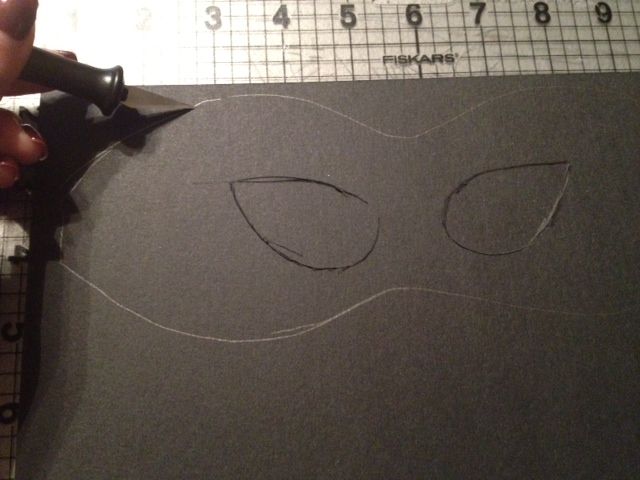
3. Cut out the eye holes with an x-acto knife. Press firmly so you go through the card stock and cut through the project board. Don’t worry if you have a frayed edges! It will all be covered with feathers in the end.

Mardi Gras Mask DIY Feather Cheap HandmadeMardi Gras Mask DIY Feather Cheap Handmade

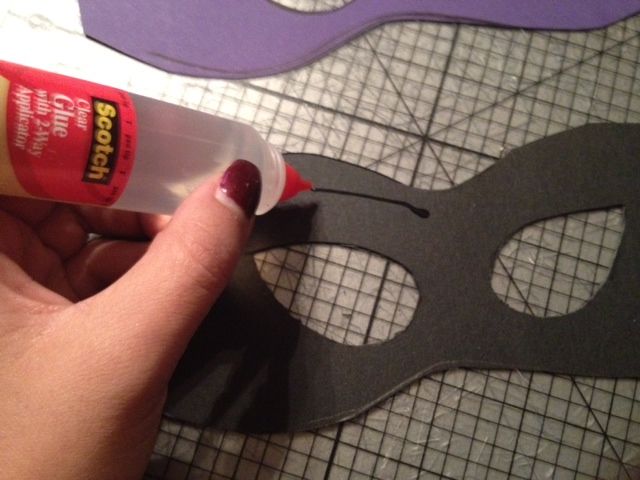
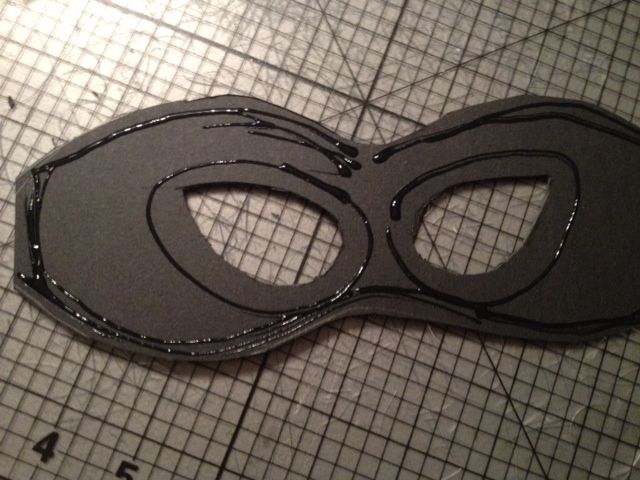
4. Now you should have 2 separate cutouts of your mask shape – 1 on colored card stock and the other on the black project board. Add glue along the perimeter of the project board mask and outline the eyes with glue as well. Adhere the purple mask onto the black one.

Mardi Gras Mask DIY Feather Cheap Handmade

Mardi Gras Mask DIY Feather Cheap Handmade

Mardi Gras Mask DIY Feather Cheap Handmade

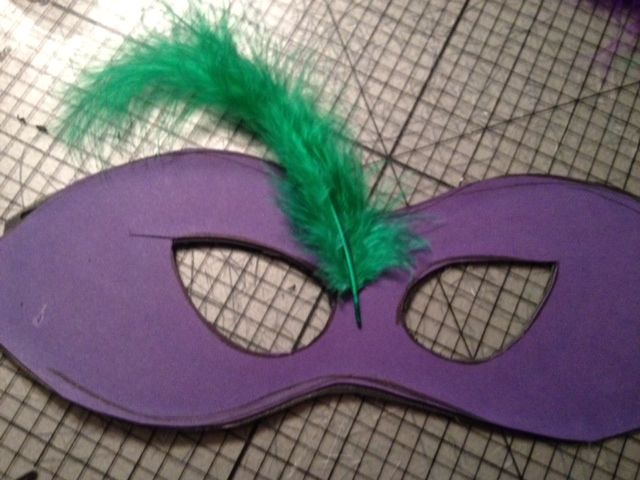
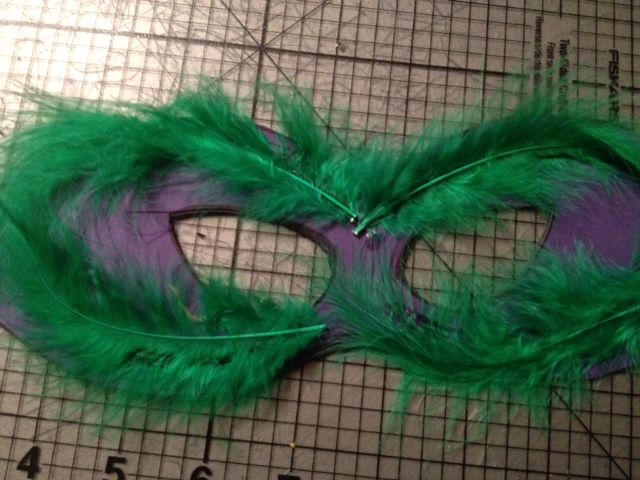
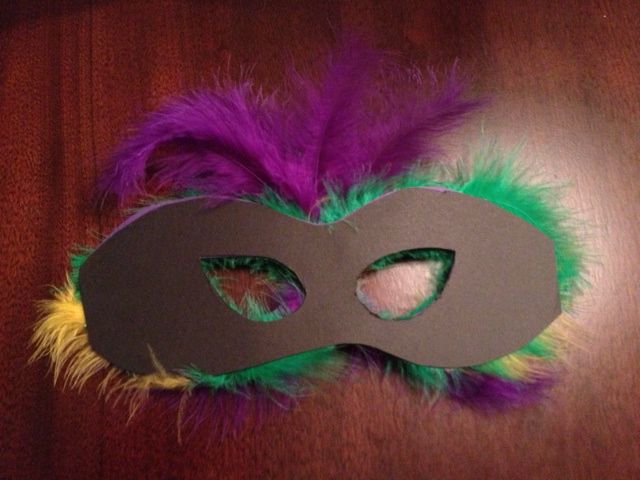
5. Add glue and start adding your feathers. Start by making a layer of feathers encircling the eye-holes of the mask. Then layer the feathers in any design you want, using glue to secure them.

Mardi Gras Mask DIY Feather Cheap Handmade

Mardi Gras Mask DIY Feather Cheap Handmade

And then before you know it…in only a few minutes, you will have finished your own handmade Mardi Gras feather mask!

Mardi Gras Mask DIY Feather Cheap Handmade

Mardi Gras Mask DIY Feather Cheap Handmade

This is what the back of your mask will look like. You can add elastic string (sacrifice a hair elastic) to make the mask wearable or glue a rod (plastic straw covered with black paper or a pipe cleaner) to make it handheld.

Mardi Gras Mask DIY Feather Cheap Handmade

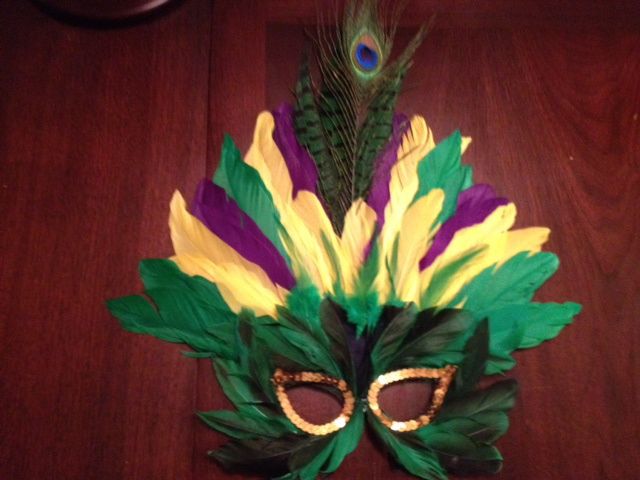
If you really have patience, and have the time to purchase some really nice looking feathers, you can add sequins around the rims of the eye holes – giving them more definition and making it look more pulled together. You can add extra pieces of card stock to the top of the mask to add height and allow for more feathers. With some extra time, you can put together a mask like the one I made below. I used feathers that I actually already had and pulled out the mardi gras colors. I also found a nice peacock one to go right in the middle. Feel free to get creative and make the mask your own! Happy Crafting! 🙂

Mardi Gras Mask DIY Feather Cheap Handmade

Mardi Gras Mask DIY Feather Cheap Handmade

Mardi Gras Mask DIY Feather Cheap Handmade

Pop Up Card Tutorial: Make Your Own Card in 30 Minutes

After receiving a couple requests, I have  finally gotten around to creating my first tutorial. Now, please bear with me. It’s my first one and I hope that I can make them better over time. I was promising tutorials for some Christmas cards, but I always forget to photograph mid-card and end up snapping photos at the end to show the finished product.

A lot of the cards in previous posts definitely took a substantial amount of time. Maybe 2-3 hours? The Twas the Night Before Christmas pop-up book took about a week.

Well how about some instructions for how you can make a pop-up card in 30 minutes? Ok so maybe my title is a little misleading, because this one took me about 41 minutes, but still…it’s under an hour! Plus, I had to pause and take photos in the middle of it. I deliberately set a timer so I could figure out just how long it would take. Once you get the hang of making one, you develop a knack for it and can crank them out pretty quickly and efficiently (assuming you have all the right tools!).

Here is what you will need:

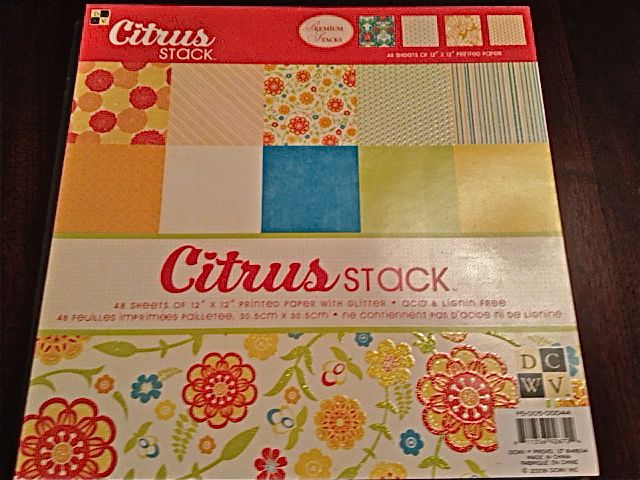
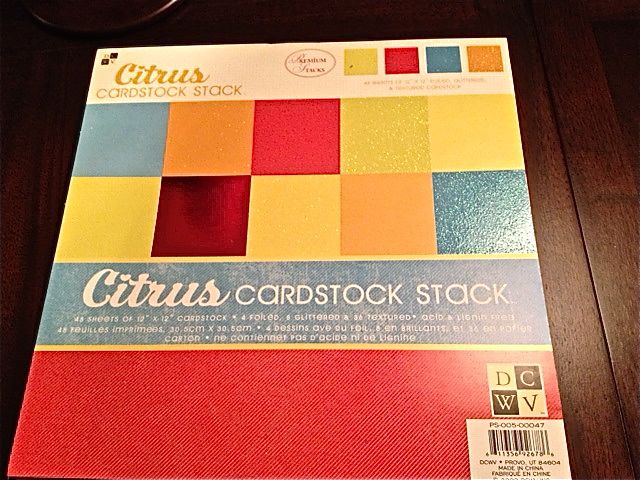
1. 12″ x 12″ card stock (3-4 different sheets) – it’s good to choose complementing colors and have a mix of solids and patterns. Try some of the card stock that I purchased below (on sale at JoAnn for $9.99 per pack of 48 sheets!)

Citrus Cardstock

citrus cardstock

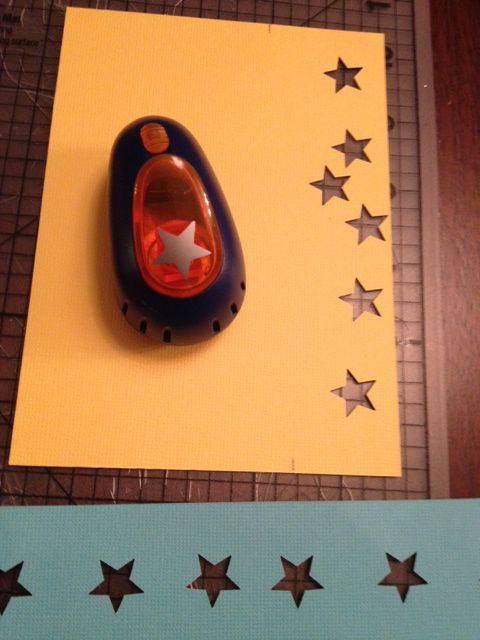
2. You will need some paper punchers (Corner Punch and Desired Shapes) – I couldn’t find my corner punch so I rounded some corners by hand and eyeing it, but the corner punch is quick, easy, and precise. I also chose to use the star paper punch for some decor on the card.

Paper Punch

3. Scrapbook Glue or Double Sided Tape

4. Trimmer / Scoreboard

5. Paper Scissors

6. 12″ x 12″ poster board (optional) – I love using this stuff because it makes the cards hardcover and a little more polished looking.

How to Do It:

1. Cut the paper for the outside cover into 6 x 12″ and then in half so you have two 6″ x 6″ squares. (If you are using the 12″ x 12″ poster board, glue each separate 6″x6″ squares onto a separate piece of 6″ x 6″ poster board)

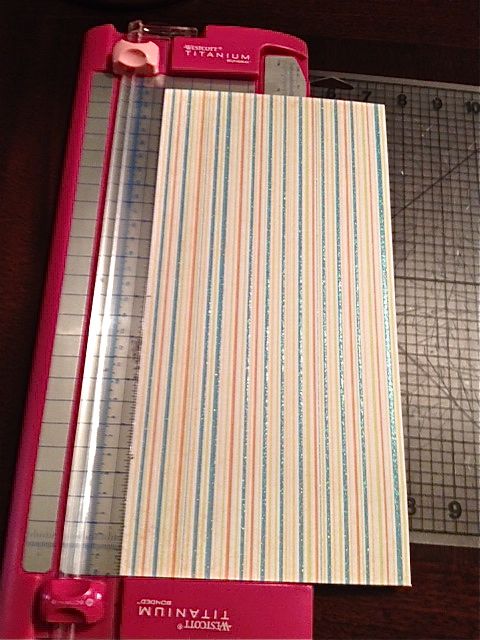
Trimmer Pop Up Card

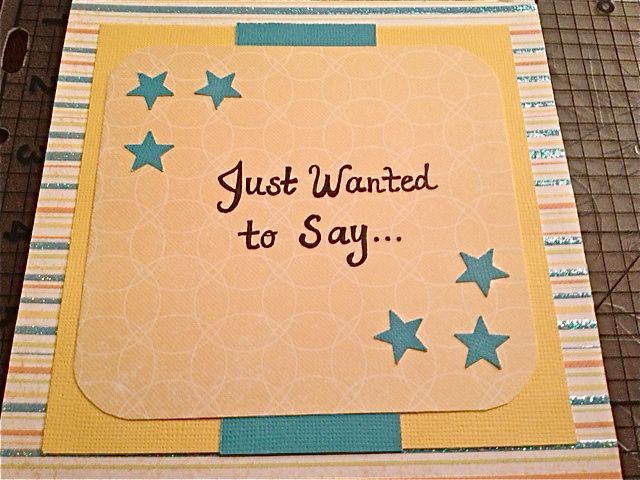
2. For the front cover, select another piece of card stock paper and cut into 6″ x 6″ squares. Cut one of the squares into 5.25″ x 5.25″ and then corner punch.

3. You can add another strip of paper however you want for an accent. Simply cut it using your trimmer. In this case, I used a blue stripe 2″ x 6″.

4. Punch out your stars using your paper punch for however many you want and simply glue all the pieces onto the front as desired.

5. Use a fine tip sharpie to write the message that you want on the front.

Thank you pop up card

6. For the inside, use another piece of card stock and cut into 6″ x 12″ but DO NOT cut into 6″ x 6″

7. Score in the middle at the 6″ mark and fold

8. Glue the spread to the inside of the cover.

9. Select another color card stock for the inside. This will be the base of the pop up and you will use it for the pop up mechanism.

10. Fold the card stock in half, and cut into 6″ x 12″ then cut again so it is 5″ x 8″. Honestly, I usually just eye it, especially if I’m going quick, but if you don’t feel comfortable doing that, you can use your trimmer to measure and cut accordingly.

Pop Up Card How To

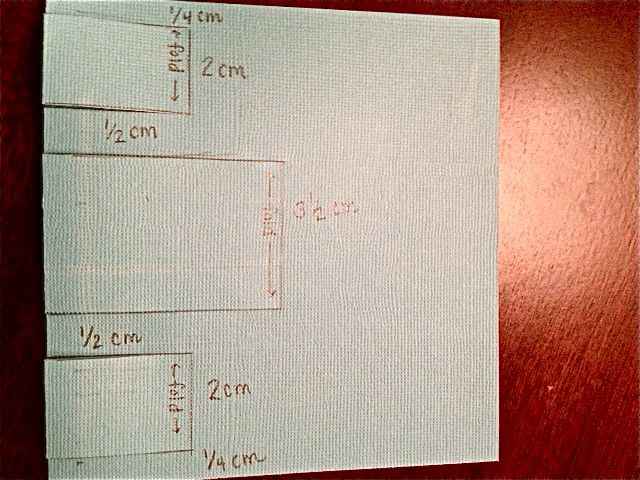
11. Now for the pop up. Draw the outline of your pop up boxes. This will create the same type of pop up that I used in the Christmas Pop Up Card showing the illusion of a pile of presents.

Pop Up Card Tutorial

12. Fold the 5″ x 8″ paper in half and use pencil to sketch the lines above, leaving about 1/2 cm in between each box and 1/4 cm from the edges.

13. Cut along the horizontal lines as shown above, being sure NOT to cut the vertical lines.

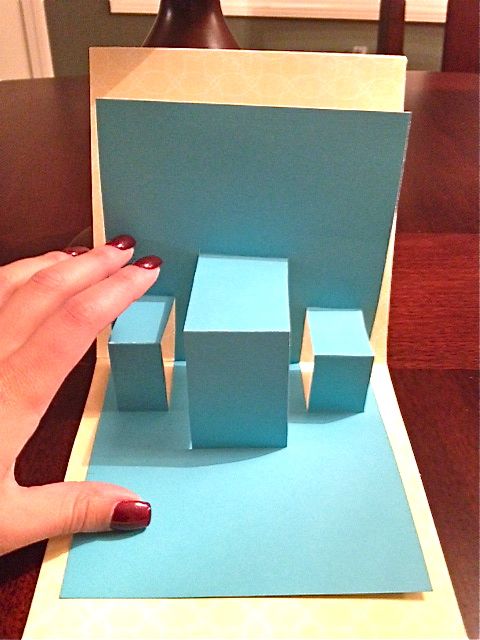
14. Fold your boxes in so that they are bent along the vertical lines and it looks like the image below.

Pop Up Card Tutorial

15. Open your pop-up and see the boxes / steps that are now created. You can now adhere this piece of paper to the card by using glue or tape.

How to Make a Pop Up Card

16. Next, cut out (or use a paper punch to cut out), your desired inside shapes. I folded paper in half and cut out hearts, but a paper punch is even quicker and more precise.

Pop Up Card

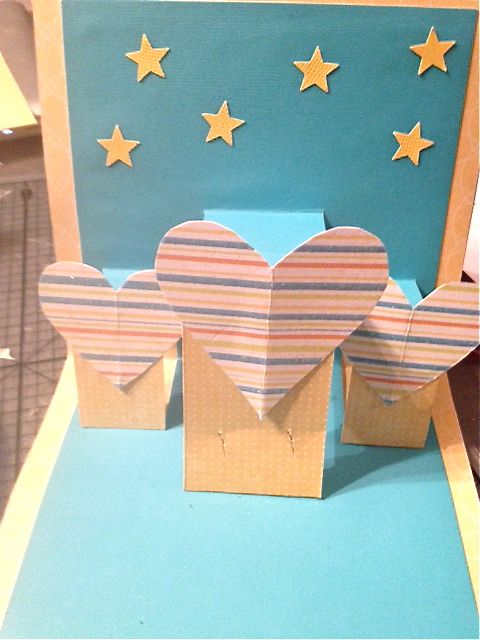
17. Adhere the shapes to your boxes wherever you want them.  I chose to cut out strips of paper to cover the front sides of my boxes (below).

Pop Up Card

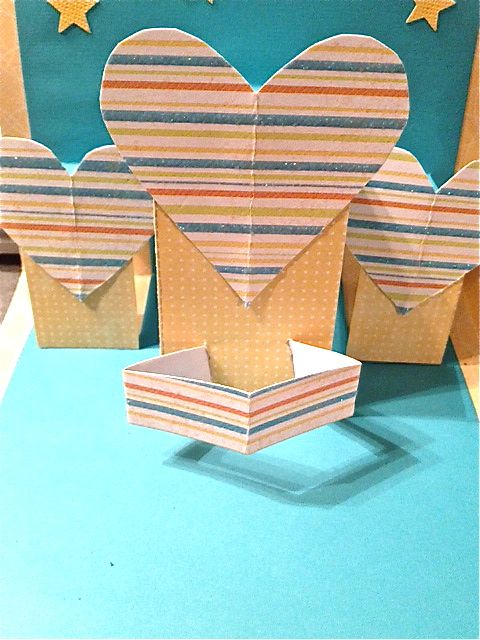
I chose to cut slits in the front wall of my center box so I could insert and extra scrap piece of paper to make another image popping out further.

Pop Up Card

Pop Up Card How To

18. I then cut out a cloud / bubble shape and used it for a pop up “Thank you!” by folding it in half, handwriting the words on the front with sharpie and gluing it to the scrap piece of paper I had inserted as a support beam on the front center box.

Pop Up Card

19. I added a few extra hearts and some paper punched stars for a little extra something, and…voila! That was it.

Card Making

Pop Up Thank You Card

Pop Up Card

This might sound like a lot when you read all of this at first, but once you practice your first one, you’ll be able to crank out the same one over and over again pretty quickly. The hardest part for me when creating a new card is figuring out the design. What colors? How is it going to look? What is going to pop up? HOW is it going to pop up?

Sometimes it requires more than one instance of trial and error using practice models of computer paper. But once the design is mastered, you have your template to work off of and can re-use the same template for any other types of cards in the future. It makes card making a lot easier once you already have a basic recipe under your belt. You can use this same pop-up box mechanism for just about anything – a thank you note, a pile of Christmas presents, or maybe even a city skyline for a wedding invitation? 🙂 haha yes, I’m hinting at my own wedding that is now in the works. You might be seeing a pop up wedding invitation from me soon!! (Once we secure a date of course!)

Good luck scrappers!! Have a Happy New Year!!!